Learn How To Draw An Umbrella Quickly
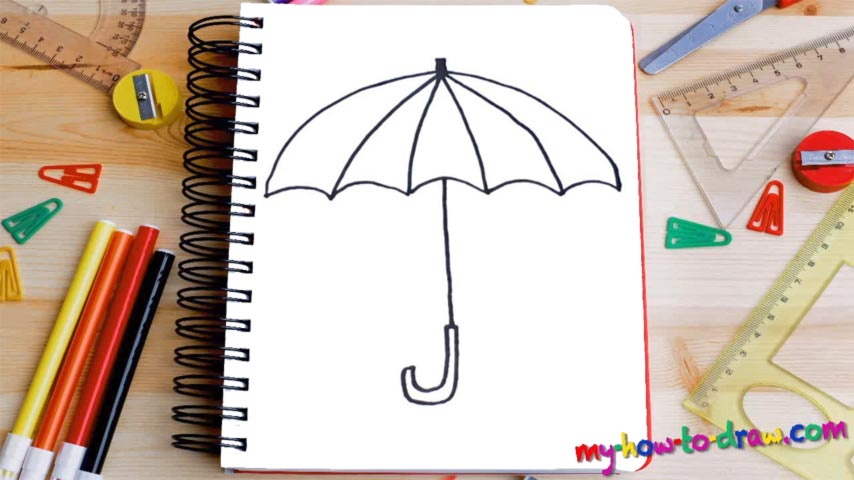
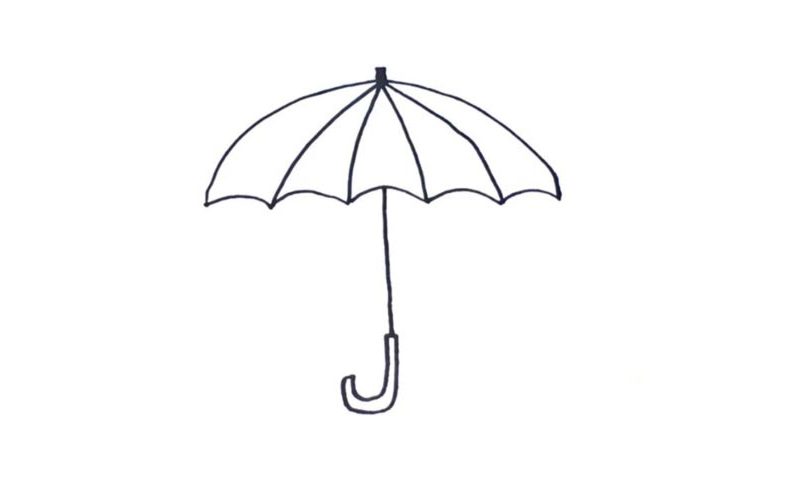
There’s nothing to it, believe it or not: in this tutorial, we’ll be dealing with quite an easy drawing that requires little to no skills. But the final result looks awesome, and you’ll be able to learn how to draw an Umbrella in just one minute! Start with the top of the “dome” by creating a pretty big curve in the middle of the paper you’ve got on the table (00 min 07 sec).
Once that’s done, add the part on top that connects all the separate details to each other (00 min 15 sec). Lock the bottom of the umbrella using a wavy line just like you see in the video. Next, draw four curvy vertical lines inside that shape to make it look more realistic (00 min 33 sec). Yep, you guessed it: we just added those thin metallic lines that hold the umbrella steady when it rains.
The handle is the last step in this how to draw an Umbrella tutorial (00 min 45 sec). Create a long vertical line. Next, get to the much thicker part (usually made of wood) that we hold on to. Ok, now we’re officially done with this video guide. I’d recommend using black for the fabric and yellow-brown for the handle for that classic touch.
Before you learn how to draw An Umbrella, did you know?
You won’t be able to surprise anyone with an umbrella today because it’s quite an ordinary thing. According to the historians, the very first prototypes date back to 21 AD. China was one of the greatest empires in the world, and they had a special talent for inventing new and technologically advanced “devices”.
These days, Japan is the leader when it comes to the creative side. They’ve got a huge number of different designs and color combinations. It’s safe to say that every single person out there will be able to find their perfect umbrella. And, you can also have your own texture put on the fabric.

