Learn How to Draw Curly Clouds Quickly & Easily!
When it comes to drawing, clouds are one of the first things that come to mind, along with the sun. Fortunately, it’s pretty easy to learn how to draw curly clouds. Given the fact that it’s made up of simple curves, we won’t even need to create any guidelines like we usually do. Just arm yourself with a pencil with normal strokes and make a long, curly S that’s turned sideways (00 min 17 sec).
The next step would be to follow the video and put additional curls where it’s necessary. Or, ditch the video and add your own curls wherever you want (00 min 25 sec). Just don’t go too crazy and try to maintain some sort of consistency throughout.
Once you’re happy with that, move on to the next step in our how to draw curly clouds manual – enclosing the various curls to make it all look like a cloud (00 min 41 sec).
Don’t worry – this is an easy step and won’t require top-notch drawing skills. Now, because we didn’t have any guidelines, you won’t even have to do much deleting (01 min 29 sec). Still, go over the drawing with a marker and “clean it out”. As far as coloring goes, do whatever your heart desires.
If you’re drawing on a computer, you can try numerous color combinations in a matter of seconds. At the same time, there’s something magical about using a real pencil to draw.
Before you learn how to draw Curly Clouds, did you know?
Sometimes we have trouble drawing really simple things or perhaps we struggle in making them look a little more creative. Clouds can be like this so why not try to draw some very easy and very creative curly clouds for your next project? You don’t have to make something really fancy to make it look impressive. After all, the trick is to draw something beautiful!
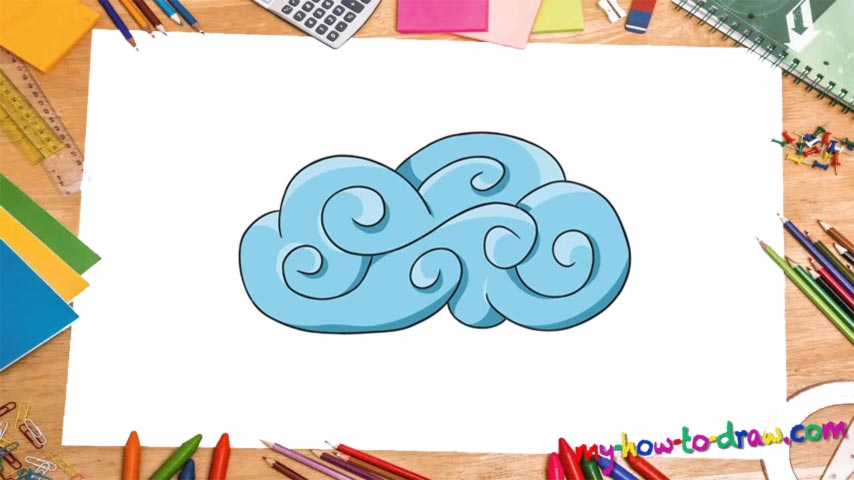
It is as easy as drawing the letter ‘S’ over and over again and then putting it all together with a few arcs. Yep, it is that easy. Try it and you’ll be amazed. Of course, the best way to make it really stand out is to spend some time coloring it with beautiful colors. Blue and white are the obvious choices, and, probably, the best ones. Still, don’t be afraid to experiment!