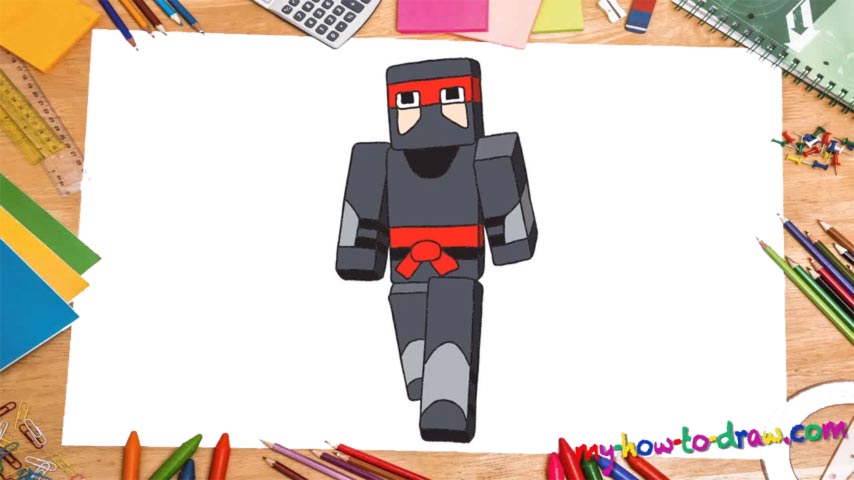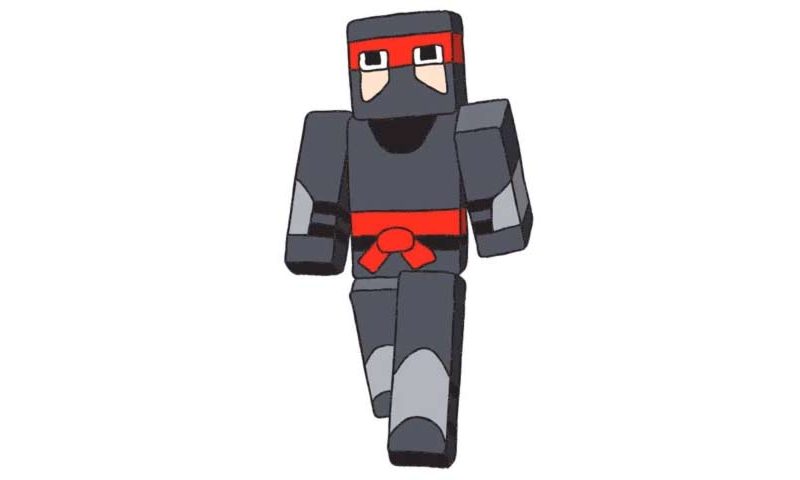
Learn How to Draw a Minecraft Ninja Quickly & Easily!
This game is getting more and more popular with each passing day, and in this post, we’ll learn how to draw a Minecraft ninja from scratch. Ready? Let’s roll!
If you’re familiar with our tutorials, then you already know the drill: draw your guides using very light strokes. In this case, it’s a rectangle that’s slightly tilted to the left (00 min 17 sec).
Next, draw one just like it that’s about half its size. Draw a rectangle as long as the first one but a lot thinner – it’s going to be the left arm (00 min 33 sec). The right arm should be positioned a bit lower and, of course, point backward. Same goes for the legs (00 min 57 sec). Once you finish with the legs, the hardest part of the how to draw a Minecraft ninja tutorial will be over.
Switch to the eyes (01 min 21 sec). The next thing you should do is go over the shapes you just drew with the light strokes and go over them with your pencil (01 min 52 sec). Are you done with that already? Good, let’s draw that cute belt then (02 min 59 sec). As for the additional details all over the ninja’s body, they’re a piece of cake.
The most important part is to keep the shapes and sizes in balance with each other. At the very end, go over your drawing and erase the light strokes (07 min 06 sec). And that concludes our how to draw a Minecraft ninja from scratch manual. Pretty awesome, huh?
Before you learn how to draw a Minecraft Ninja, did you know?
Would you believe me if I told you that I had no idea what makes a Minecraft Ninja so special? That’s right! I have NO idea… I am no gamer and in fact, I don’t even own a gaming console of any kind. I like to draw and I like to create these videos for everyone to watch.
At the same time, it’s worth mentioning that the gamers really love this funny game and spend hours and days playing it. Plus, it’s a huge commercial hit that’s been topping the sales charts for years.