Learn How to Draw Boba Fett Quickly & Easily!
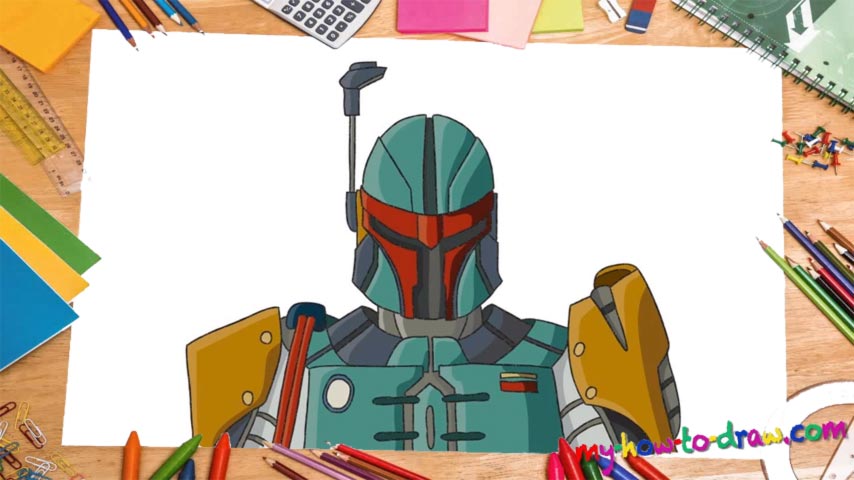
If you’re a fan of the Star Wars franchise, then you already know who this gentleman is. So, without further ado, let’s learn how to draw Boba Fett. We’re going to start with the helmet; draw a rectangle for it using light strokes (00 min 17 sec). Next, split it in four. Then, you should position both the arms and the shoulders (00 min 33 sec).
Once that is in place, the real fun will begin. By carefully following the instructions in the video, add the various details on the helmet (00 min 53 sec). After you finish with it all, move to the famous antenna on his right (03 min 23 sec). That’s the second part of this how to draw Boba Fett manual.
If you’re satisfied with the head, it’s time to take care of the body (04 min 05 sec). Try not to make the lines too curvy; at the same time, they shouldn’t be extremely rough, because even though it’s armor, it’s still a human wearing it (05 min 21 min). The best course of action would be to deal with the arms first and only then move to the front of the body (06 min 20 sec).
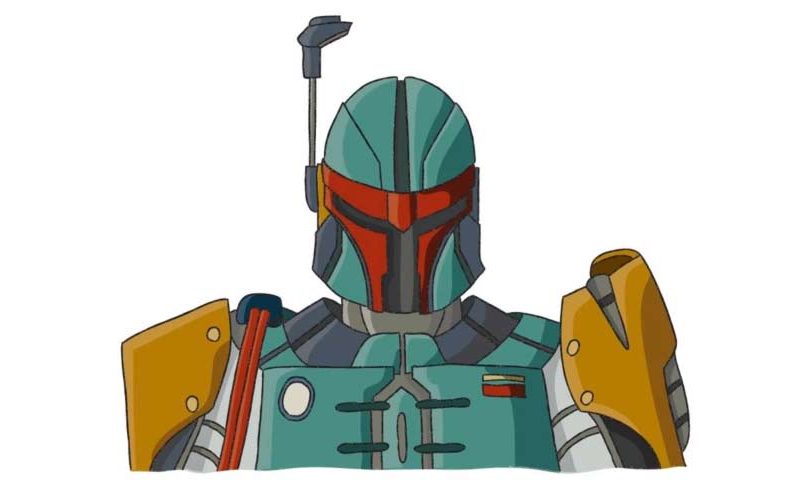
Happy with where this is going? Don’t forget to add all those tiny details all over the body to make it look more realistic (08 min 30 sec). One more thing: it’s important to go over your guides with a marker and take them out (09 min 28 sec). Paint Boba with whatever colors you want – the choice is yours!
Before you learn how to draw Boba Fett from Star Wars, did you know?
As mentioned above, Boba is a character from the Star Wars universe. He’s a professional bounty hunter, one of the best in the galaxy. And, he’s also a clone of a notorious hunter, Jango Fett (yep, its’ a bit confusing if you don’t know your Star Wars facts).
They killed Jango during a brutal conflict, and, Boba, just a boy at the moment, swore to avenge the man. This is his story in short. If you want to learn more, keep your eyes on the upcoming big-screen debut!

