Learn How to draw Chica From FNAF Quickly & Easily!
As in many cases, the head is the most detailed and hard part of the drawing, which is why we get to it first. In this how to draw Chica From FNAF tutorial, we begin with creating a huge circle that takes up the better half of the upper part of our paper (00 min 23 sec). Those oval shapes insides of it are for the nose and the mouth.
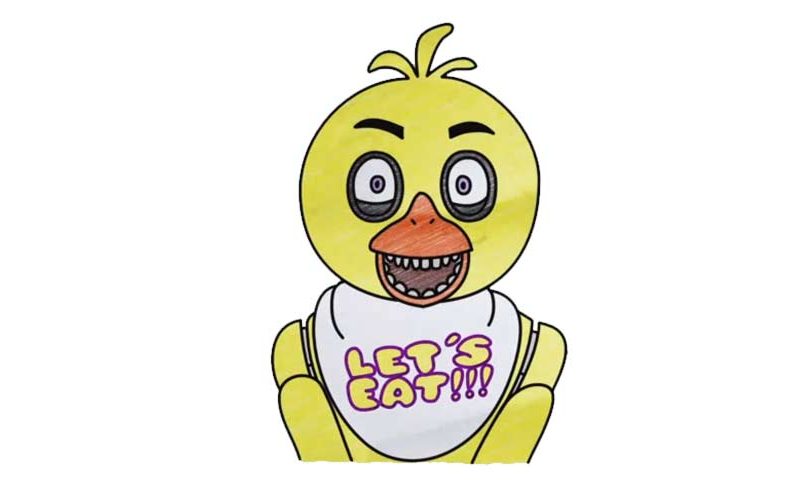
Obviously, you should also add two circles for the big, bright eyes (00 min 40 sec). The rest is easy: draw a shape just like you see in the video for the body and two ovals on both sides of it (four in total) for the hands. If everything looks good, grab your favorite marker and get to the so-called clean drawing (01 min 00 sec). The beak comes first. Then, gradually move to the mouth and add those creepy teeth (01 min 21 sec).
After you add those tiny nostrils, take care of the eyes (02 min 02 sec). They look the same but keep in mind that the pupil in the right eye is further away from the center than in the left eye. The head has almost the exact shape as does the rough circle we drew in the beginning (03 min 02 sec). Still, go over it carefully and make sure the new circle is super smooth.
The body and the hands are the final parts of this how to draw Chica From FNAF tutorial (03 min 25 sec). The hands are mechanical and will be relatively easy to create. The final stage is the invoking phrase on its chest (04 min 06 sec). Nothing to it. Simply write down the letters and add 3 exclamation marks at the very end. That’s it!
Before you learn how to draw Chica From FNAF, did you know?
Being an animatronic that looks and behaves like a chicken, this evil character can cause you a lot of trouble if you lose your guard. She’s a gifted singer doing backup vocals in Freddy’s band. And, Chica hangs around in the building until 6 AM to hunt the residents.
