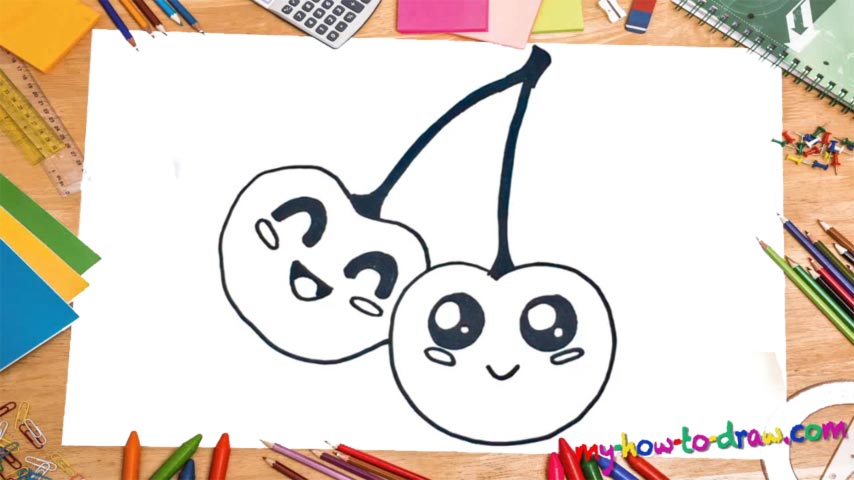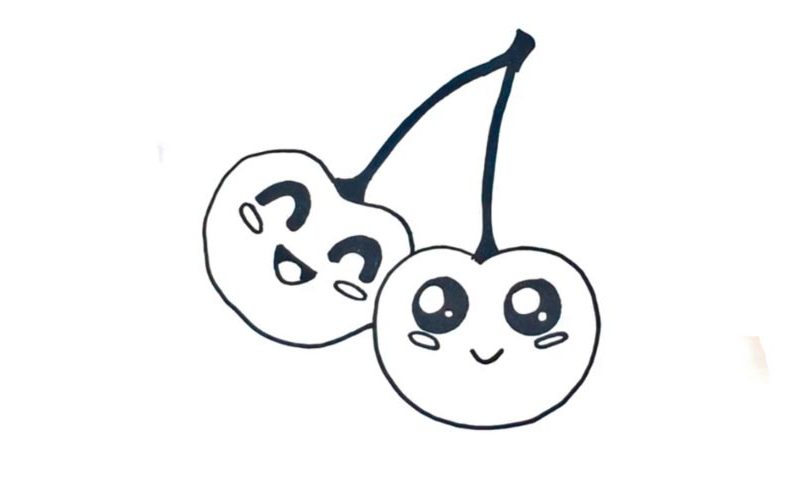
Learn How To Draw Cherries (Kawaii Version) Quickly
The cherry on the right comes first (00 min 07 sec). You’ll need a circle with a tiny “dip” in the upper corner that makes it look a bit like a heart. The “tail” sits at the top (00 min 15 sec). Color it black and make sure it’s nice and long (and thicker the higher you go). Alright, the intro to this how to draw Cherries (Kawaii Version) is behind us.
The left cherry overlaps with the one on the right (00 min 35 sec). But they look the same, which means it won’t be a problem to put it in. The tails should connect at the top, turning into a cute “couple” (00 min 45 sec). Basically, we’re done with the how to draw Cherries (Kawaii Version) lesson. However, the facial features are still on the menu! The eyes of the right cherry are pretty big (01 min 06 sec).
Color them black and leave two white spots – one big in the upper left corner and a tiny one in the lower right corner. The mouth is just a curve (01 min 54 sec). The ovals under the eyes follow. The eyes of the left cherry look like a pair of magnets (02 min 10 sec). The mouth and the ovals are a piece of cake (02 min 35 sec).
Before you learn how to draw Cherries (Kawaii Version), did you know?
There aren’t that many species of this fruit out there, but they’re all quite tasty. Basically, you’ve got the sweet and the sour cherries. Plus, there are the wild species that grow outside of cultivation. Note: if you’re in England right now and are hearing folks call the sweet cherries “Wild”, just know that they’re still referring to the cultivated species.
In some countries, where cherries grow on literally every step of the way, they cost almost nothing. At the same time, transportation puts a lot of strain on the companies, and that bumps up the final price tag for certain regions around the globe. Say, Turkey produces about 20% of the total 2.25M tones.