Learn How To Draw Ash Ketchum Quickly
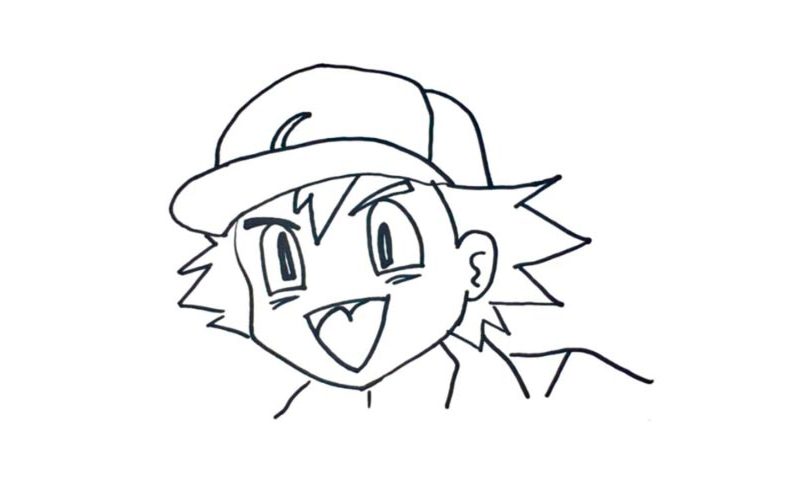
Start in the far left corner with the boy’s head (00 min 06 sec). Follow my guide and create a shape that covers the left half, the bottom, and even the right side of the face a bit. The ear is the next step in this how to draw Ash Ketchum tutorial (00 min 18 sec). You’ll need a C-like curve and a wavy line inside of it. This is anime, and the eyes should be huge.
The one on the right comes first (00 min 32 sec). Both eyes look a bit like huge windows and/or doors to some ancient castle. The brows sit right on top of them (00 min 56 sec). The left brow should be colored black; leave the other one white. For the mouth, you’ll need a reversed triangle (01 min 06 sec). Don’t forget about the tongue.
The quiff and the hat are the next steps in this how to draw Ash Ketchum video guide (01 min 22 sec). Use zigzag-like lines for the hair. The hat is pretty standard. Cover the front part first before moving back to the head. For the hair on the sides, apply the same zigzag-friendly technique (01 min 54 sec). The lines at the bottom represent his shirt (02 min 12 sec).
Before you learn how to draw Ash Ketchum, did you know?
Do you know who this fella is? AKA Satoshi, he’s pretty much the finest character in the insanely popular Pokemon universe – nothing more, nothing less. The guy is the main protagonist, the hero of the anime/manga series and is also a best-seller when it comes to merchandise related to the Pokemons.
So, what is this young man all about? Well, for starters, he wants to become a Pokemon master and is ready to do whatever it takes to reach his goal. Because he’s the lead character, Ash is featured in every single episode of the anime, the movies, and everything in between. At the same time, Pikachu is always “fighting” the boy for world recognition.
