Learn How To Draw A Sailing Boat Quickly
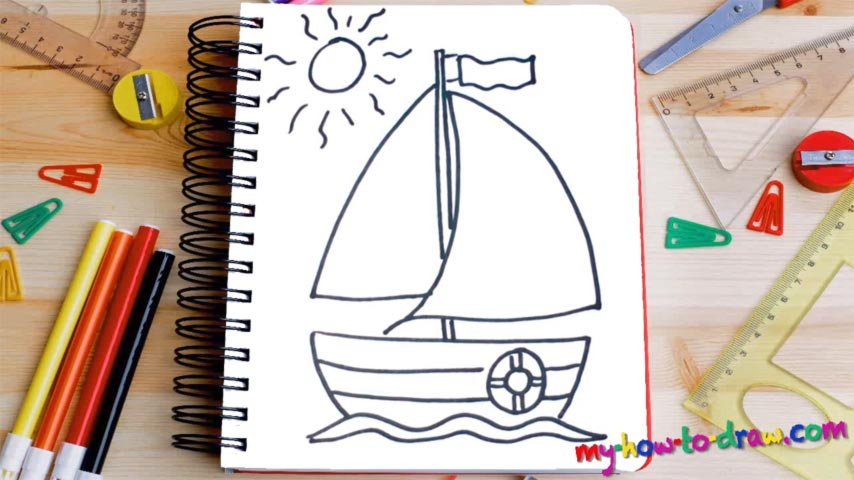
The deck, of course, comes first (00 min 06 sec). It’s just a simple shape that resembles a half-moon. However, it’s wavy at the very bottom, because, well, the sea waves are right below our boat (00 min 14 sec). Use two similar lines on top of each other for this step in the how to draw a Sailing Boat tutorial. The lifebuoy is located in the right corner (00 min 24 sec).
You’ll need two circles of different sizes and a couple of lines for it. To complete this stage, use four horizontal lines just like you see in my example. Alright, now we move to the upper corner to take care of the sails (00 min 45 sec). We’ve got two of those, and the one on the right comes first. The shape is very basic and looks like a triangle with curvy sides.
The mast, the next step in this how to draw a Sailing Boat lesson, sits in the middle, right between the two sails (00 min 57 sec). The left sail is a bit smaller but looks the same. The flag at the very top and the sun are the final things on the menu in today’s tutorial (01 min 12 sec).
Before you learn how to draw A Sailing Boat, did you know?
Before humanity came up with the big and incredibly mighty engines, we had to fully depend on the wind. And the sails were necessary to use the power of the wind and to advance through the seas. There have been many different types throughout history, but the main idea, the concept is always the same.
Even today we have beautiful sailing boats that bring the old vibes back. Some folks simply don’t want to use an engine and are all about conquering the waves and having fun in the process. So, if you’ve got an old boat collecting dust in your garage, go ahead and give it a try. Who knows, maybe you’re a natural-born sailor?