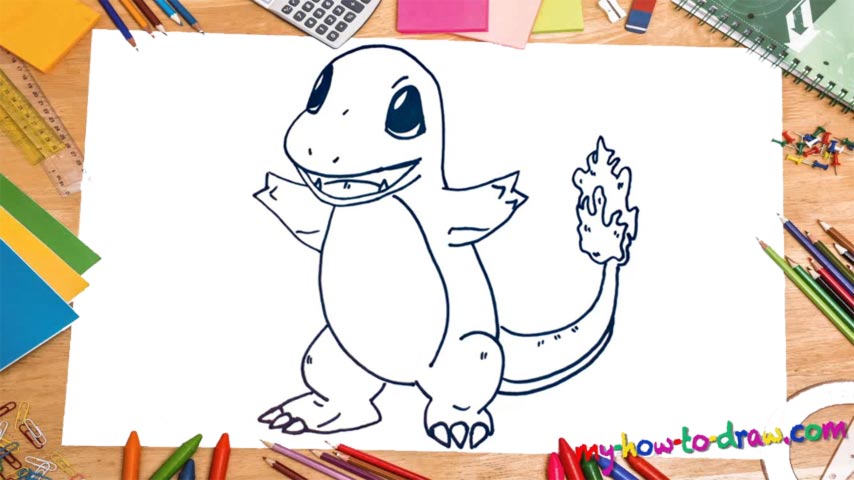
Learn How To Draw Charmander Quickly
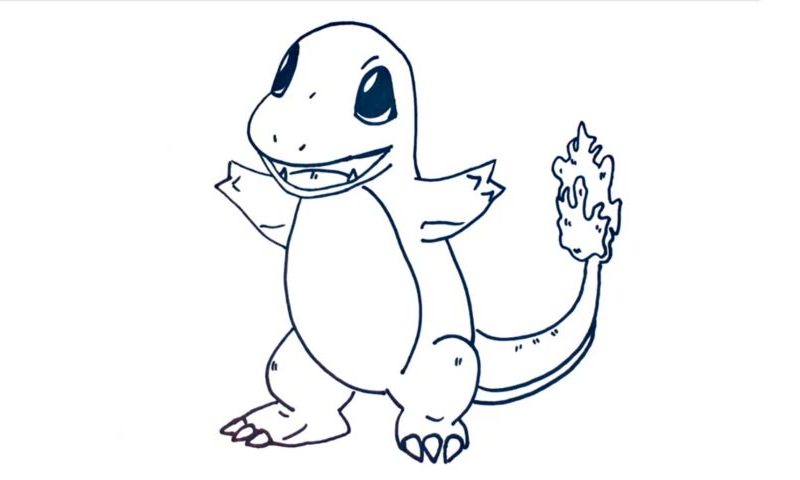
Start at the very top with the brute’s head (00 min 05 sec). It looks a lot like the one of a Ninja Turtle. For the mouth, the next step in this how to draw Charmander tutorial, you’ll need three horizontal curves (00 min 15 sec). The tongue and the tiny teeth follow (00 min 46 sec). And don’t forget about the nostrils (00 min 56 sec).
The eyes should be nice and big. Color them black but leave some white spots in the upper and the lower corners. Alright, let’s move to the body (01 min 57 sec). Use a vertical curve to cover the left side. The super-short and cute hands follow (02 min 05 sec). They come with two tiny fingers each. The next steps of the how to draw Charmander tutorial are the legs.
Start with the right one (02 min 42 sec). Both have three sharp nails/claws. The feet are nice and strong. Cover the belly with another line (03 min 32 sec). And finally, add the tail using three similar-looking curves (03 min 41 sec). The flame at the tip should be burning bright!
Before you learn how to draw Charmander, did you know?
These guys are members of the incredibly-popular Pokémon franchise. A Charmander comes with a flame burning at the tip of the tail. It’s worth mentioning that the strength of that flame has a direct effect on the creature’s health and the emotions it’s currently feeling. Sounds crazy, that’s true, but if you’re a fan of this series, then it’s nothing new for you.
This brute made its debut in the Pokémon Red and Blue video game and is today one of the most fan-favored characters of the universe. Obviously, as a strong Pokémon with big ambitions, a Charmander can evolve into different forms (two in total). With the introduction of X and Y, this beast received two new forms. Yes, the damage bonus is temporary, but it’s significant and can change the tide.

