Learn How To Draw An Ear Quickly
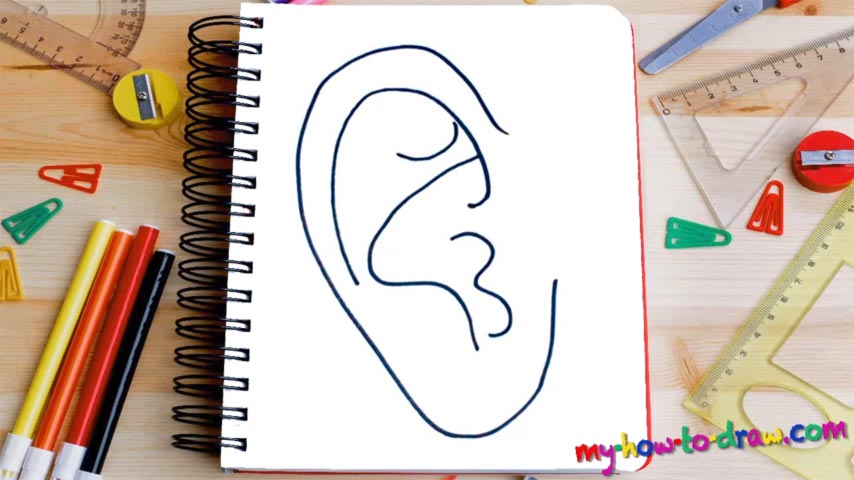
As you can see from the preview, we’ll have a lot of fun with this lesson. First of all, because it’s very simple. Second, after you master this how to draw an Ear tutorial, you’ll feel like you’ve grown as an artist. We start by outlining the ear with one huge line (00 min 06 sec). If it’s too hard for you to get it right in one go, use the multiple strokes technique.
Once that’s in place, we can move on to the parts on the inside. You’ll need to add a half-circle in the upper corner (00 min 15 sec). The rest is super-easy. All that’s left to complete this lesson are three curves. The first one is also the most basic one (00 min 25 sec).
The line below it looks a bit like a whirlwind of some kind. The last step of this how to draw an Ear tutorial is the curve that resembles the reversed number 3 (00 min 37 sec). Ok, that’s it! See how quick and easy that was? The final result looks pretty great.
Before you learn how to draw An Ear, did you know?
Most living creatures on the planet (especially the mammals) come with two ears. They allow us to hear sounds coming from both directions. Plus, they are a great “tool” for balance. We, the humans, put more pressure on our ears than any other being in the world. Headphones, loudspeakers, super jets, and machines at the factories are all potentially bad for our health.
However, over the years, the human ear has evolved and is capable of taking the “heat”. That doesn’t mean you don’t need to give them a rest every once in a while, though. Ladies really love to use earrings to look pretty. This tradition has been around for thousands of years, and in some cultures, both men and women do all kinds of crazy “alterations” to them.