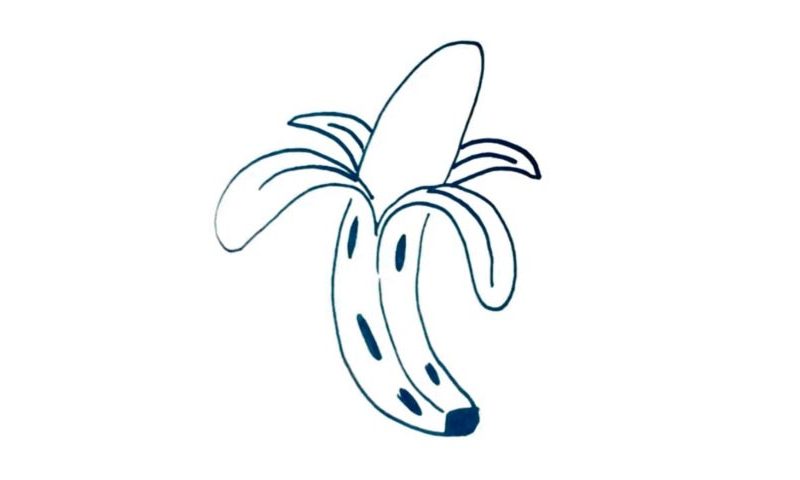
Learn How To Draw A Banana Quickly
We start this drawing with the lower half of the fruit (00 min 07 sec). Use two identical curves to cover it. And don’t forget about that big black spot at the very bottom (00 min 16 sec). Ok, now it’s time to add the rind (00 min 29 sec). This part of the how to draw a Banana might seem a bit tricky to you, but it’s really not.
It’s divided into four parts, and since the banana is in 3D, every single side counts. Begin with the one on the right. Once the one on the left is also done, move on to the fruit itself hiding under that rind (00 min 50 sec). Reach the top of the paper with it and only then go back to the rind. Looks like a beautiful flower during spring, huh?
See that line at the bottom (01 min 14 sec)? Get to it. The last step of the how to draw a Banana tutorial is all about adding black spots here and there (01 min 18 sec). And that concludes this fine video guide!
Before you learn how to draw A Banana, did you know?
Thanks to an incredibly flexible and technologically advanced logistics system of the modern-day world, we’ve got bananas in every single corner of the Earth. Plus, they are quite cheap, which makes them one of the most popular fruits on the planet. Botanically speaking, a banana is a berry, but we’re all used to treating them differently, right?
There are many sizes and shapes, but usually, a banana is long and curvy at the end. As for the rind, you’ve got yellow, green, purple, and even brown (that’s when it’s ripe). They say that this fruit first originated in Papua New Guinea. Today, bananas grow in 135 countries around the globe. Do you know which countries are the leading producers? India and China, of course, with 28% of total yearly production!

