Learn How To Draw Bulbasaur Quickly
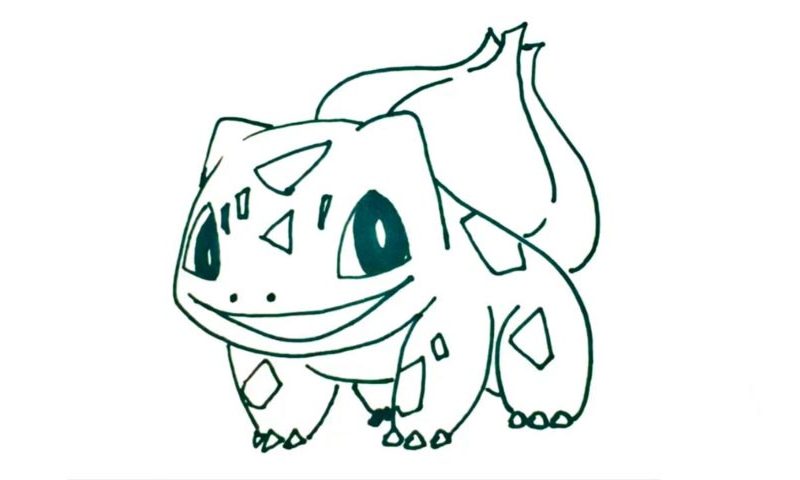
We start by outlining the beast’s face (00 min 07 sec). It’s pretty rectangular, even though the lines are smooth. The cute ears sit in the upper left and right corners (00 min 25 sec). The big, bright eyes, the next step in this how to draw Bulbasaur, look like they belong to a cat (00 min 45 sec). And, they resemble a pair of diamonds.
Color them black but leave white spots just like I did. For the nose, use two tiny dots (01 min 43 sec). The mouth sits right between the nostrils and the lower jaw. To make the Pokémon look more realistic, I added a series of simple shapes on the forehead (01 min 57 sec). Ok, now it’s time to move on with this how to draw Bulbasaur tutorial.
The character comes with four legs (02 min 22 sec). They’re quite short and beefy. Plus, each has three claws. The trademark bulb on top of its back is the final step in this video guide (03 min 40 sec). Make sure the curves are nice and round.
Before you learn how to draw Bulbasaur, did you know?
This dino is a famous tiny brute from the internationally-known Pokémon franchise. Today, it’s available in various video games and is featured in many animes and movies. The kids really love it. As any other brute from this legendary universe, Bulbasaur comes with a special ability. It can easily survive for days feeding on sunlight. Sounds cool, right?
In the beginning, it used to be one of Ash’s most favored Pokémons. If you’re fond of this fella, there is a huge selection of toys, dolls, key chains, and other merch available to you all around the globe. Pick one you like and strengthen your connection with this unique animal. Strong and smart, Bulbasaur is not to be messed with, especially when it turns into Venusaur.

Thank you for your article!