Learn How To Draw An Arrow Quickly
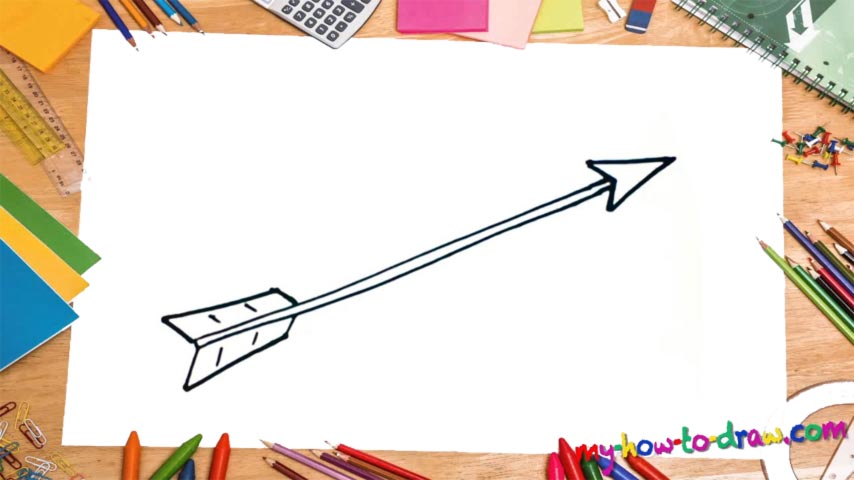
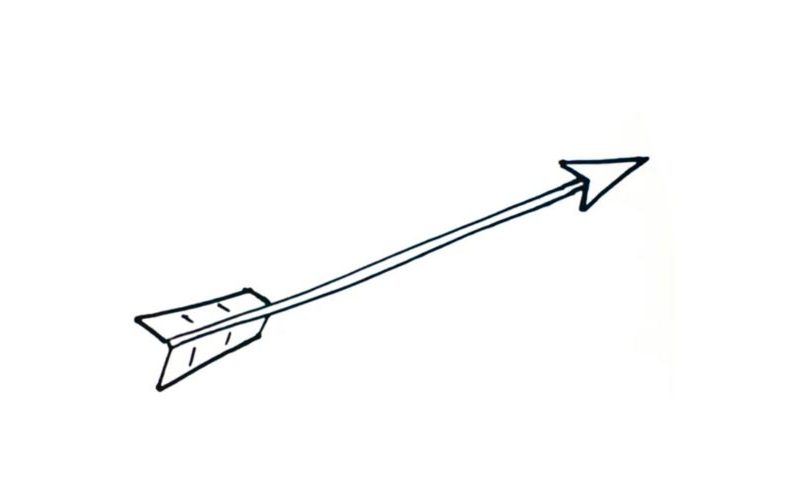
The shaft is the first thing on the menu for us today (00 min 07 sec). It consists of two parallel lines sitting very close to each other, making it super-thin. It’s the main body of the arrow and allows for maximum speed and efficiency during the battle. The sharp head is the next step in this how to draw an Arrow tutorial (00 min 22 sec).
It looks like the pointer of the mouse on your computer, doesn’t it? Nothing hard about this part. Ok, we’re almost done with this video lesson. The last step is the left side (00 min 36 sec). It resembles an open book a bit and helps the shooter to pull the arrow easily. It comes with two identical sides covering the very bottom of the projectile.
This how to draw an Arrow tutorial deals with the most basic image of an arrow. At the same time, it’s also the most effective one, as you don’t need any fancy details for a weapon like that. Speed and accuracy – that’s what truly counts.
Before you learn how to draw An Arrow, did you know?
Sturdy, thin, and deadly, an arrow can take a human being’s life with one straight shot. It takes years of training to master the art of the bow and arrow. And we don’t have that many professionals these days, as almost no person hunts the animals using this ancient weapon anymore. True, Mr. Queen from The Arrow TV show does make it look badass!
But that’s rather an exception to the rule. This projectile comes with a straight shaft and a super-sharp end that pierces through whatever it touches, including body armor. The historians claim that our ancestors learned how to shoot arrows long before they figured out a way to write and read. What can we say: survival always comes first!

