Learn How To Draw An Orange Quickly
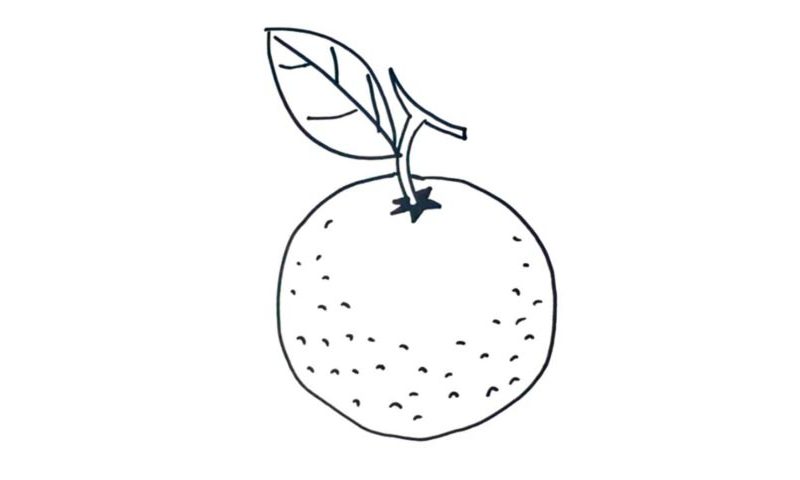
First of all, we’ll need a huge circle right in the middle to cover the fruit (00 min 06 sec). However, don’t lock it up at the very top, because we’ll need to put the “tail” through there (00 min 16 sec). For this stage of the how to draw an Orange tutorial, use 2 identical vertical curves. At the bottom of it, add a black “star” like you see in the video (00 min 26 sec).
You’ll find the same part in many other fruits, especially the ones from the citrus family. As for the upper corner of the tail, you should turn it into a shape that resembles the letter “T” (00 min 40 sec). The beautiful leaf on the left side follows. It looks like the ball from Rugby but with a more “natural” texture. Oki-Doki, we’re almost done with this how to draw an Orange tutorial.
The final thing on the menu today is the pattern on the fruit (00 min 58 sec). As you can see, I used a series of basic dots and short lines to make it look like the real thing. Leave the middle and the upper corner untouched. The rest of the space must be fully covered.
Before you learn how to draw An Orange, did you know?
Back when international transportation was only in our kind’s dreams, Oranges and other exotic fruits were only available to the most fortunate ones. True, the countries rich with Oranges were selling them for a low price to the locals, but that was rather an exception.
These days, thanks to advanced tech, clear routes, and a more sophisticated logistics system, we can buy “foreign” fruits in our local stores. And that is exactly why this wonderful gift of nature isn’t considered to be something out of the ordinary. Still, the Orange is good for your health and comes with a refreshing taste.

