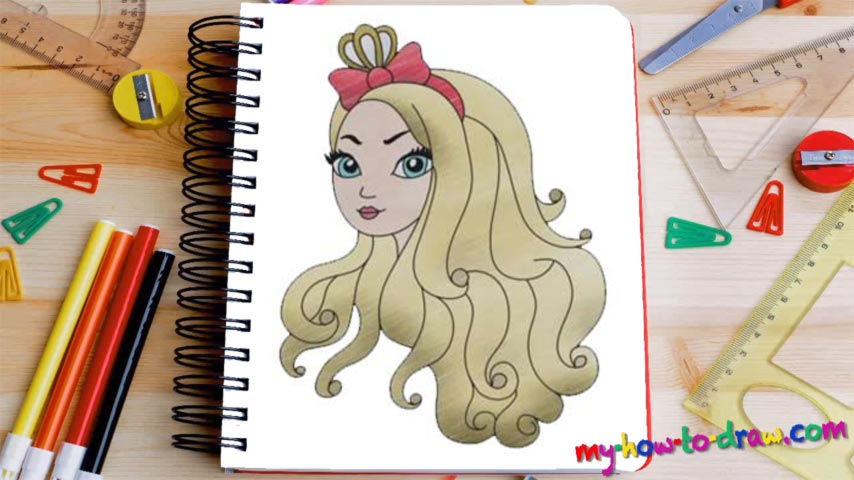
Learn How to draw Apple White Quickly & Easily!
The sketch we’re about to do will create a basic layout for the clean drawing and give you an understanding of what it is that you’re dealing with. Begin with the circle that symbolizes the head (00 min 23 sec). That’s the first step in our how to draw Apple White tutorial. If you’re familiar with the whole concept, then you already know that those dividing lines are there to mark the spots for the eyes, ears, nose, mouth, and the hair.
The next step is, of course, the hair itself (01 min 18 sec). It’s made up of a series of curvy S-like lines. The upper strands are pretty much identical to each other. The ones just below them look like question marks (02 min 11 sec). If you’re happy with it all, put that crown on top of the girl’s head and let’s move on (02 min 44 sec). Before putting in the eyes and the rest of the facial features, use the guidelines to define the hairline that covers her head (03 min 19 sec).
This is an important stage in our how to draw Apple White tutorial. The eyes themselves are big, bright and beautiful (03 min 49 sec). The eyebrows, the nose, and the mouth are the easiest parts and consist of single or multiple simple curves (06 min 20 sec). Once you’re finished with the head, draw the ribbon and the crown on top (07 min 45 sec). Let the rough sketch guide you and follow the light strokes.
The final step in the how to draw Apple White manual is, of course, the hair (09 min 10 sec). All you’ll have to do is, again, carefully follow the guidelines and make every single hairline more “3D”. Doesn’t the girl look like an octopus with that lush hair?
Before you learn how to draw Apple White, did you know?
This young woman strongly believes in destiny and the fact that it guides us all. She’s been working hard for her entire life trying to respect the traditions and do everything by the book. Apple is supposed to be the next Snow White in line, and takes every single thing seriously, trying to be perfect.