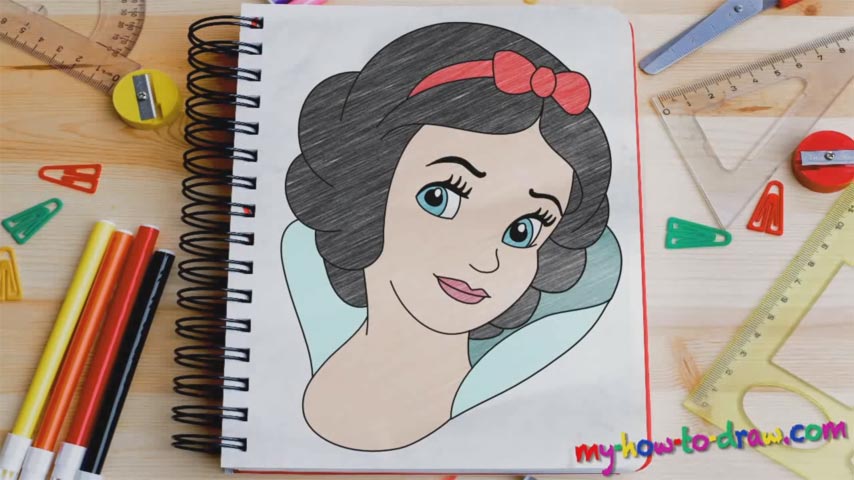
Learn How to draw Snow White Quickly & Easily!
Like in the majority of other posts on our website, we strongly recommend creating some basic guidelines using light strokes before moving to darker ones. Start with that big oval shape that represents the girl’s head (00 min 24 sec). This is one of the most important stages in our how to draw Snow White tutorial and you’ll need to get the angle right.
After you divide it using three curvy lines to mark the eyes, ears, nose, and mouth, move on to the hair (01 min 00 sec). Overall, you’ll need three circles on both sides. The ones on the left are bigger, but take up the same amount of room. Carefully follow the video and finish the sketch. If everything looks good, switch to darker strokes and get to the eyes that sit right on top of the horizontal guiding line (02 min 07 sec).
Make the eyelashes extra thick to accentuate the girl’s mesmerizing eyes. Now, even though the right one looks identical, it’s a little bit “narrower” than the left eye (03 min 23 sec). The nose, the mouth, and the eyebrows come next and they are the easiest part of our how to draw Snow White tutorial. Once you’re done with the face, move on to the head and the hair (05 min 51 sec).
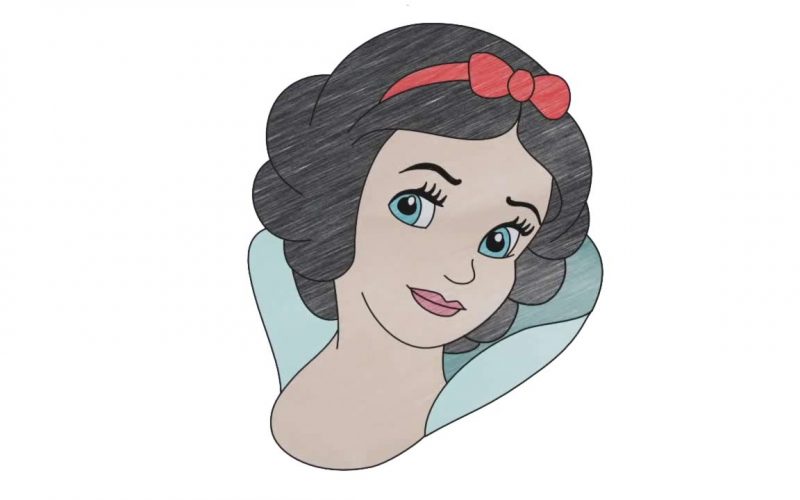
Let the rough sketch guide you. Make your lines extra curvy when you get to this stage (07 min 23 sec). And, use those circles we created in the first step of this manual to finish the hair. That’s pretty much it! The final result looks pretty awesome, doesn’t it?
Before you learn how to draw Snow White, did you know?
If you love fairytales, then you definitely know who Snow White is. She’s got an evil stepmother that doesn’t really love her and quite an eventful life. As the most beautiful woman in the whole world, she’s the #1 enemy of the Evil Queen and is forced to run for her life and hide from her wrath.