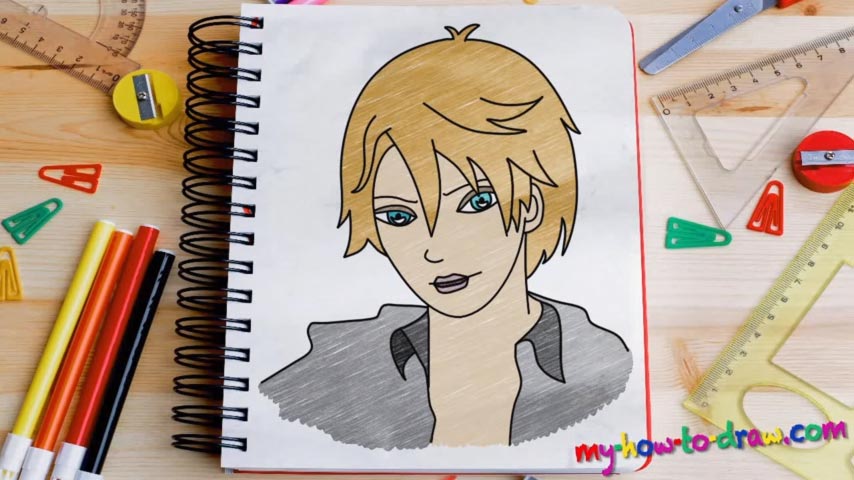
Learn How to draw Anime/Manga Quickly & Easily!
Pick a piece of paper that’s equal in size to mine. Place it properly, equip yourself with light strokes and let’s learn how to draw Anime/Manga, shall we? The fella’s head comes first (00 min 23 sec). Use the dividing lines to define where the various facial features should be. If you mess this step up, you’ll never be able to fix anything unless you go back and do it all over.
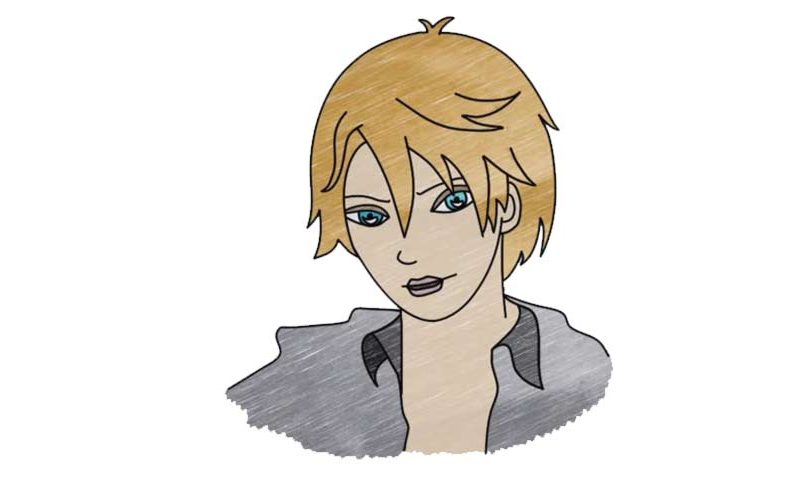
The body is simple and comes with almost no details (00 min 34 sec). That means you’ll need just two lines for the neck and two oval shapes for the character’s shoulders. Once that’s in place, switch to darker strokes. You should take care of the hair before moving on to the rest of the elements of our how to draw Anime/Manga tutorial (00 min 41 sec). Follow the video and don’t try to make it look too realistic.
This genre has its set of rules that we’ll need of follow. Happy with the hair? Then it’s time for the right ear (01 min 21 sec). It consists of two equal curves of different shapes. Draw a line from the ear all the way to the other side by using the sketch as your guiding line – and you’re done with the jaw! The mouth and the nose are super easy. The eyes, in turn, are identical to each other (01 min 45 sec).
They are the window to our soul, and that’s why you should try to make them perfect. Every single detail matters – experiment until you get exactly what you want. The boy’s neck, shoulders, and shirt are a piece of cake (02 min 31 sec). Finally, go back to the hair, add a couple of more hair strands, and you’re done (03 min 04 sec).
Before you learn how to draw Anime/Manga, did you know?
The professional artists are calling Anime one of the most “forgiving” genres. You can get away with almost any ridiculous and/or original idea and it will look natural. Usually, Manga is all about huge eyes, small noses, sharp lines and exaggerated body parts. But not always and not in this particular case.