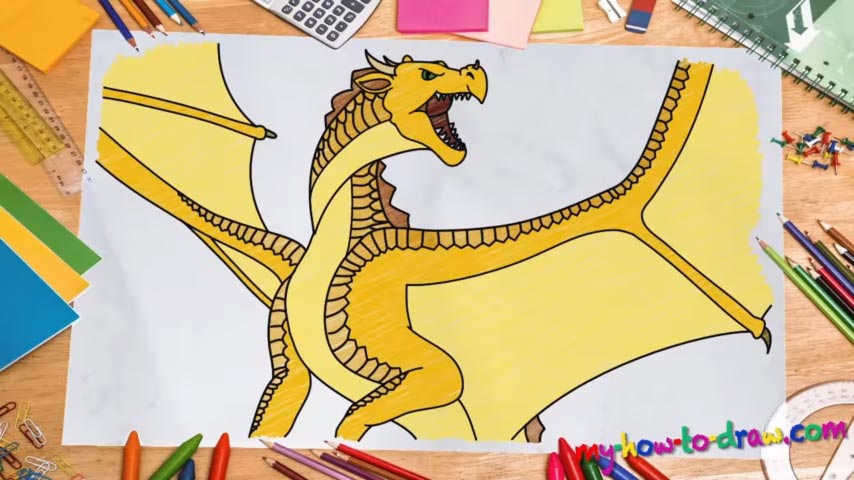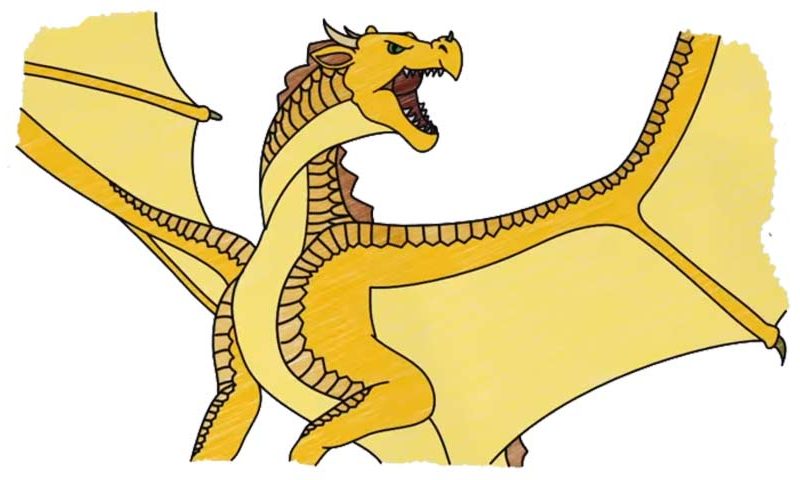
Learn How to draw Wings Of Fire Sunny Sandwing Quickly & Easily!
You do know that a drawing this complex will be pretty tough to pull off without a proper rough sketch, right? If you do, then let’s skip the theoretical part and learn how to draw Wings Of Fire Sunny Sandwing in practice. Start with the head – a tiny circle (00 min 23 sec). Add two more on its right that will represent the jaws.
Next, use two curves for the neck and two more for the body (00 min 44 sec). If you think that those super-long guiding lines are for the wings, I’m happy to say that they are! Add four oval shapes at the bottom of the drawing for the legs. Ok, from now on, we use darker strokes. The eye, which consists of three simple lines, comes next (01 min 25 sec). The jaws follow swiftly.
When working on the teeth, try to make them as small as possible and please remember that the lower jaw has two sets of those (01 min 58 sec). The next part of the how to draw Wings Of Fire Sunny Sandwing tutorial are the neck and the rest of the head (02 min 38 sec). Just follow the rough sketch with your dark strokes. Then, draw a curvy line right below the one on the right for the wing (03 min 44 sec).
The legs pretty much also go over the light strokes. All you’ll have to do is accentuate the right curves (04 min 31 sec). The left wing is the final part of our how to draw Wings Of Fire Sunny Sandwing manual. Follow the video and make everything super-smooth. And before you say goodbye, add some scales all over the dragon’s body just like I did (05 min 50 sec).
Before you learn how to draw Wings Of Fire Sunny Sandwing, did you know?
Who can say that dragons aren’t cool? They are one of the greatest mythological creatures in our fairytales and can take out entire cities with a single breath of fire. With fantasy novels and movies taking over the entire world, these creatures are, once again, “trendy”.