Learn How to draw Angry Birds – Chuck Quickly & Easily!
If you’ve been keeping up with our AB tutorials, then you already know that we usually like to start with the beak (00 min 30 sec). Create a “pyramid” on top and a smaller but similar-looking shape right below it. That’s the intro to our how to draw Angry Birds – Chuck tutorial. Once that’s in place, move on up and add those rectangular brows on both sides of the beak (00 min 44 sec).
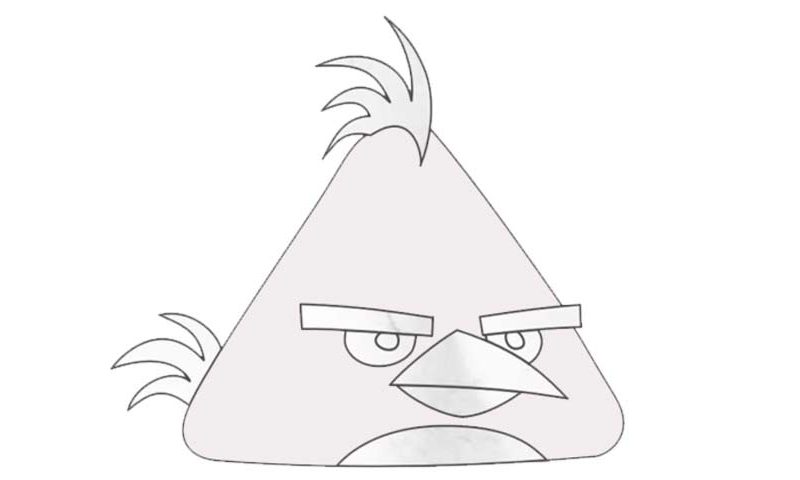
The eyes come next. Use the tiny space that’s left between the two facial features and “squeeze” them right in. That way, you’ll create an awesome expression and a sense of momentum for this lovely bird. Two half-circles – that’s what you’ll need for each eye. The crest in the top corner of the paper will help you get the size of the head right (01 min 21 sec). The triangle-like head is, of course, the next step in our how to draw Angry Birds – Chuck tutorial.
Put that straight line at the bottom of the drawing first (01 min 51 sec). Then, use two tilted vertical lines to connect the crest with the foundation of the head. Don’t be too sharp with the lines and make them curvy at the bottom. Finally, draw the tail and that chin right below the beak (02 min 16 sec).
Before you learn how to draw Angry Birds – Chuck, did you know?
This guy is not a big planner and always prefers to go head-first than to sit around and work on the “rules of conduct”. He lives for the challenges and never backs down from a real fight. At the same time, Chuck keeps the bigger picture in his head.
But while the others are walking around with big faces and wasting time on talking and arguing, he gets things done. A man of action – that’s who this triangle-shaped yellow guy is. Lying in bed for hours or dwelling in one place are the biggest nightmares for Chuck.
