Learn How to draw Angry Birds – Bomb Quickly & Easily!
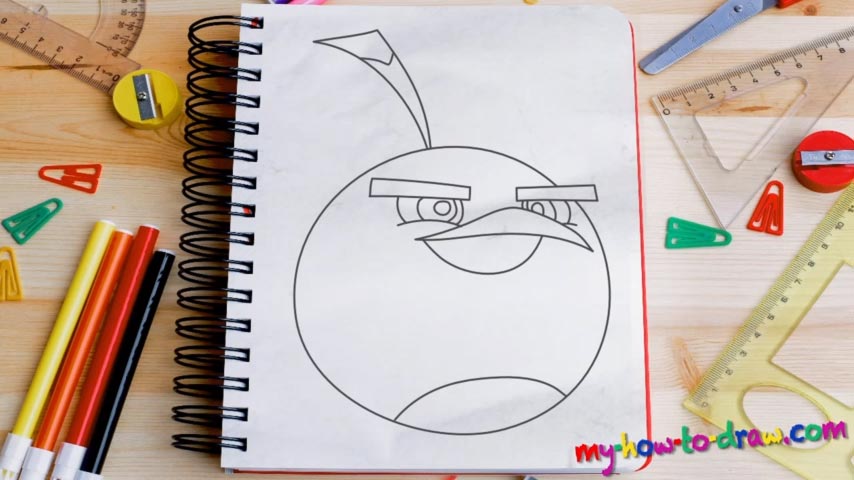
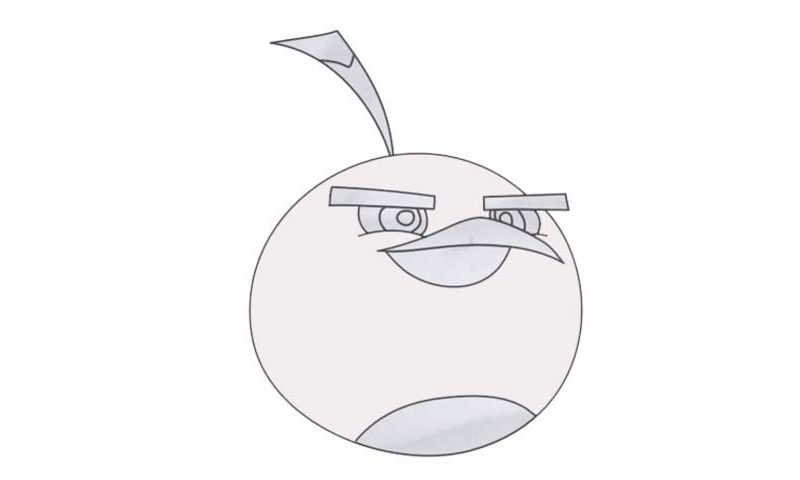
This is one of the easiest AB tutorials on our website. So, if you’ve been having some difficulties with the rest of them, try to master this one! In this guide, we’ll learn how to draw Angry Birds – Bomb, and, as always, start with the beak (00 min 30 sec). The most demanding part of this drawing is the perspective: make sure you get it right. Our bird is looking up, and that is why all the facial features seem like they sit on top of each other.
The beak is a combination of two simple shapes. The one on top is longer; the one at the bottom is wider but doesn’t reach the right end, which gives our bird that majestic look. The eyebrows are rectangular and don’t have any smooth corners (00 min 48 sec). The eyes are located right between the beak and the brows and look pretty tiny because they’ve got very little space to squeeze into (01 min 14 sec).
Ok, now we get to the next stage in this how to draw Angry Birds – Bomb tutorial – the head (01 min 41 sec). Try to make it a perfect circle. However, because the facial features are located very close to the top, the circle will look more like an oval, even though it’s not. That “fuse” on top of its head is the very last thing we need to add to complete this drawing (02 min 00 sec).
Before you learn how to draw Angry Birds – Bomb, did you know?
The name speaks for itself, doesn’t it? Bomb is always at the forefront, ready to take care of the hardest tasks with a smile on his face. Plus, he’s quite sociable and loves to be in the center of attention. With a partner like him, you’ll never feel bored!
Now, even though he does look like a bomb, that doesn’t mean that the bird is aggressive. He’s got a good, loving, caring heart, and will never hurt a soul (unless it’s a bad guy). When danger comes knocking on the door, Bomb puts himself out there to protect the rest.

