Learn How To Draw An Octopus Quickly
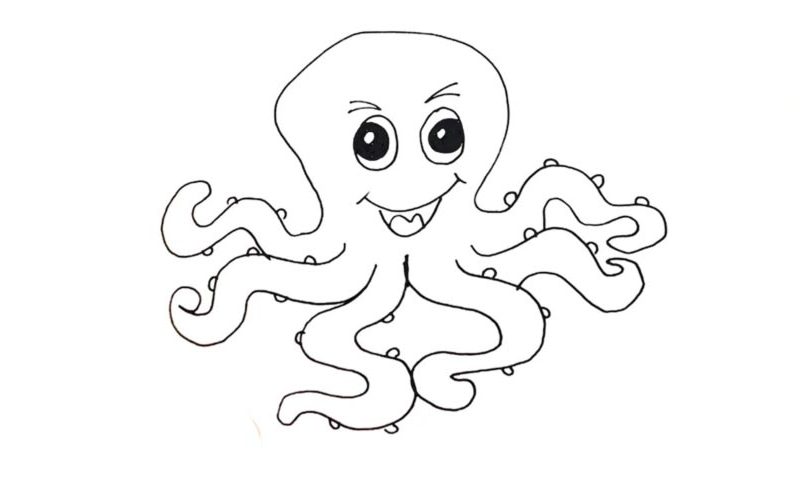
The mollusk’s huge head comes first (00 min 07 sec). Then, slowly move on to the right tentacle. The one in the upper left corner almost looks the same (00 min 33 sec). Ok, that’s it for the intro to our how to draw an Octopus tutorial. Please remember that our beast has six more tentacles, and we’ll need to add them all right now.
The good news is – they all look very similar to each other, just like they do in real life, and don’t require any pro-level skills. All you need to do is follow my lead and take care of these limbs one by one. So, move back to the right corner and start working on the third tentacle (00 min 51 sec). The fourth one is in a vertical position and is curvier.
Same goes for the left side (01 min 15 sec). To complete this how to draw an Octopus tutorial, you’ll need to work on the facial features next (01 min 43 sec). The eyes are nice and big with cute brows on top; the mouth is a combination of three simple curves.
Before you learn how to draw An Octopus, did you know?
In the fairytales, these creatures are pretty big and scary. They attack the humans and destroy entire cities. The Kraken is famous worldwide and some people still believe that it hides somewhere deep in the Pacific Ocean. Overall, there are 300+ species of this mollusk. They come with 8 arms and are pretty fast and strong, despite the soft bodies.
Plus, they can change their own shape, which enables them to squeeze through even the tightest spots. It is known that octopuses are among the most intelligent animals in the world and use their brains to make decisions. They are great at hiding in plain sight and can move under the water pretty fast. Finally, the cooks make delicious meals out of them.

