Learn How To Draw A Snail Quickly
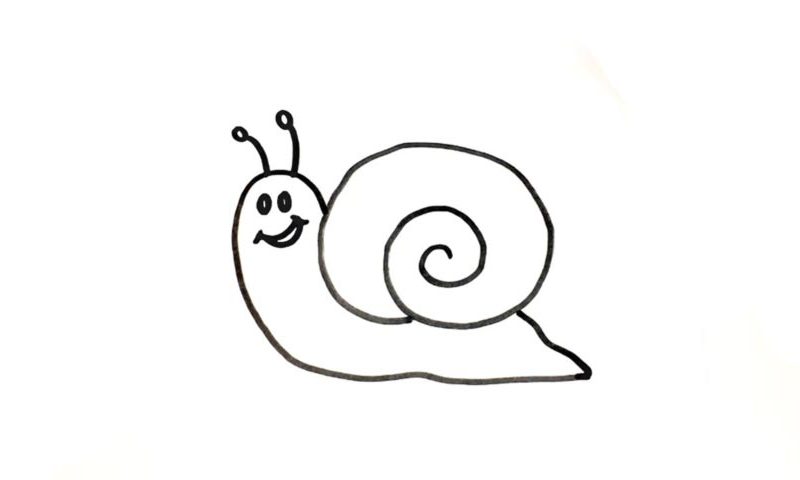
We start in the middle of the paper with the shell (00 min 07 sec). Basically, it’s just one big infinity sign. Once it’s in place, move on to the next step in this how to draw a Snail tutorial – the body (00 min 30 sec). You’ll need one long, curvy line that starts in the left corner and ends on the right side. Don’t struggle if it’s hard to “crack” it in one go.
Use the multiple strokes technique, or, better yet, divide it into several parts and conquer it that way. The cute antennas sit on top of the head (00 min 52 sec). They are identical to each other and come with tiny circles in the upper corner. To complete this how to draw a Snail tutorial, get to the easy-peasy facial features (01 min 02 sec).
We’ve got two eyes and a mouth to work on. The eyes are just two tiny ovals – nothing more. The mouth is the important part: make sure it looks exactly like in the video and has a certain kind of “smirk.” Alright, that’s it for today’s lesson!
Before you learn how to draw A Snail, did you know?
While these creatures might look a bit scary to some people that don’t like the Gastropoda class, they are quite fascinating from a scientific point of view. As you might already know, snails are born with huge shells on their back. What are they for? Protection, of course! Earth is a pretty dangerous place, and snails “retreat” into these shields to hide.
The predators can’t really get through; so, the snails live to see another day. We, the humans, use these beings as food in fancy restaurants. Plus, their shells are very popular as decorative items. Besides, they have a strong presence in our culture and are often used as a metaphor, among other things. Snails have multiple tiny teeth on their tongues and rip through the food like it’s nothing.
