Learn How To Draw A Panda Quickly
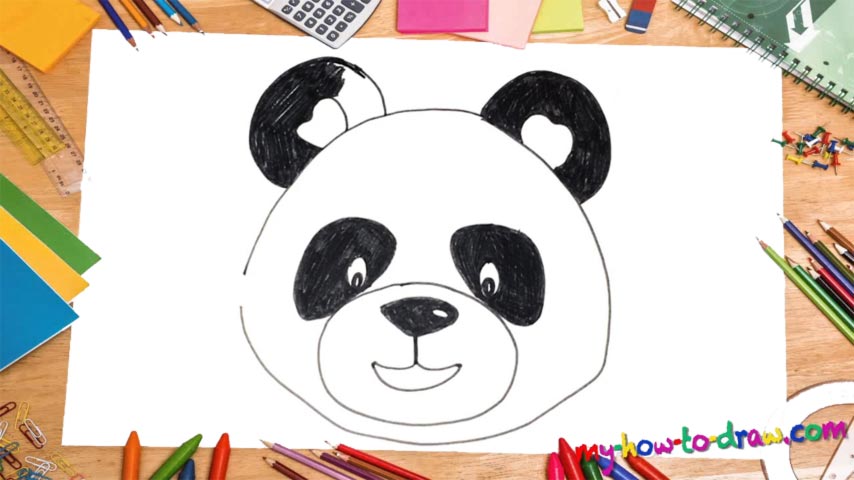
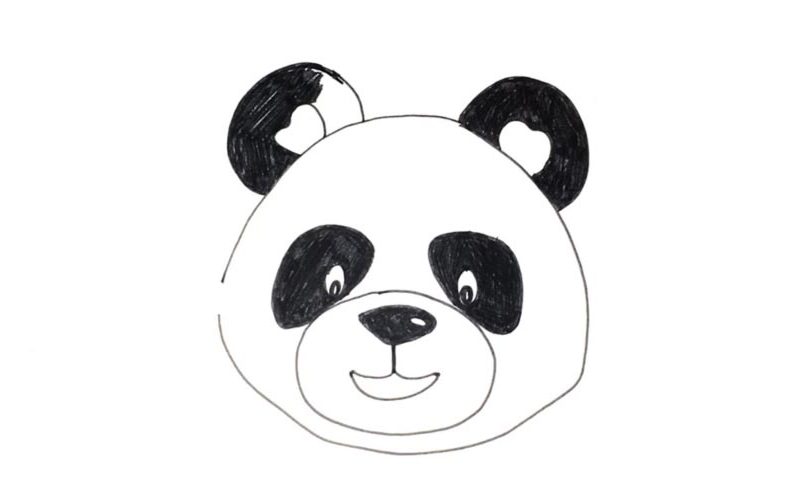
The most important thing in this drawing is the head, or, rather, its shape. It’s not a perfect circle and becomes thinner in the upper corner (00 min 06 sec). Looks a bit like a rock, actually. If you’re happy with it, move on to the next step in this how to draw a Panda tutorial – the nose and the mouth (00 min 20 sec). Put a horizontal oval at the bottom first.
The nose is like a black diamond with a tiny white spot in the right corner (00 min 28 sec). The mouth sits right below it (01 min 07 sec). The eyes are pretty tiny (01 min 22 sec). But the famous black spots make them look a lot bigger. Looks pretty cute right now, doesn’t it? The huge ears are next on the menu in this how to draw a Panda tutorial (04 min 41 sec).
The outer curves are just two half-circles. The inner curves resemble tiny hearts. Again, make sure to color them black by leave the “hearts” white. Ok, that is it for today’s lesson, dear friends!
Before you learn how to draw A Panda, did you know?
After the insanely popular Kung-Fu panda movie series, these animals conquered the spotlight. In China, they are known as the bear cats. And yes, they did originate in the South-Central region of China. So, what do these beasts eat? Bamboo, mostly. However, as most bears, they are happy to eat meat, vegetables, fruits, and many other things that taste good.
Deforestation is the reason why their numbers have faded over the years, but the Chinese government is doing everything in its power to make sure Pandas prosper in the future. Today, they are classified as vulnerable, even though they were endangered a couple of years ago. Now, even though the country’s symbol is the dragon, pandas are also heavily associated with it.