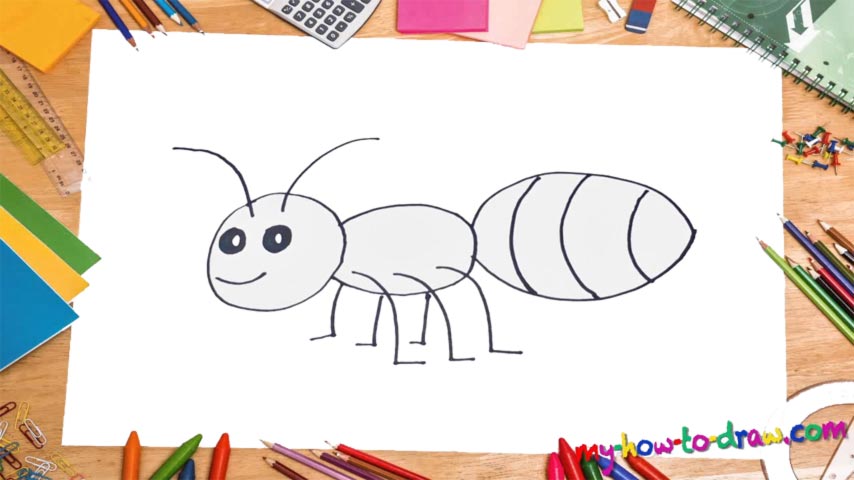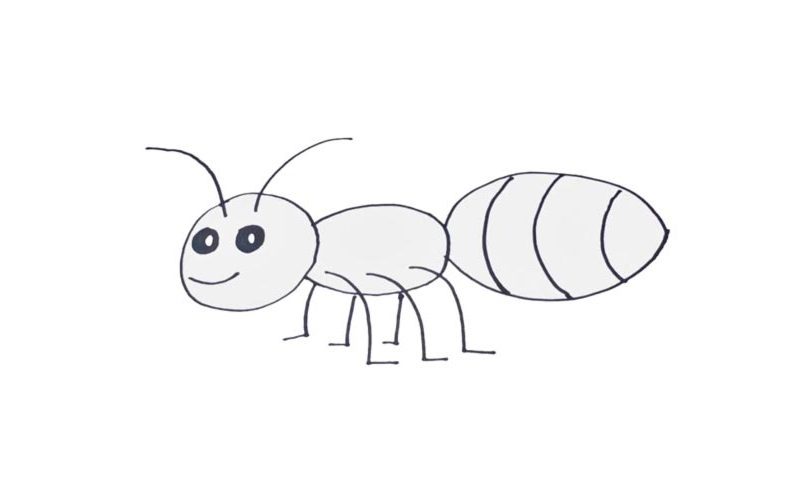
Learn How To Draw An Insect Quickly
Let’s start with the head and make our way to the right to finish the body (00 min 06 sec). We’ll need a smooth, but not perfectly-round circle for this. The big, shiny eyes are the next step in this how to draw an Insect tutorial (00 min 14 sec). Make them nice and “thick” but leave some space in the middle. The mouth is just a primitive horizontal line right below the eyes (00 min 30 sec). The “antennas” follow.
Alright, at this point, we’re pretty much done with the bee’s head. Now we move on to the body (00 min 35 sec). It’s made up of two parts. The first one looks like an oval and overlaps a bit with the head. Once it’s in place, go ahead and add the legs (00 min 42 sec). You’ll need three for each side and six in total. Make sure you get the proportions and the positions right; otherwise, you’ll ruin the entire composition.
The final step in this how to draw an Insect tutorial is the largest part in the back (00 min 57 sec). It actually quite easy and looks like a bigger version of the part in the middle. Don’t forget about those stripes, though (01 min 03 sec). Three is more than enough to complete this drawing. So, how do you like the end result? Is it fun and realistic?
Before you learn how to draw An Insect, did you know?
Insects are one of the most ancient creatures on Earth: they’ve been around for ages, and are constantly evolving, adjusting to the ever-changing world. The scientists claim that if they join forces with each other and attack our kind, humanity will fall, and that’s a 100% fact.
There are more breeds and species of insects out there than we can name in this tutorial, and they all have a place in the planet’s ecosystem. The bees deliver the pollen; the ants fight the parasites and create huge tunnels in the ground; the mosquitos help our bodies improve the immune system.