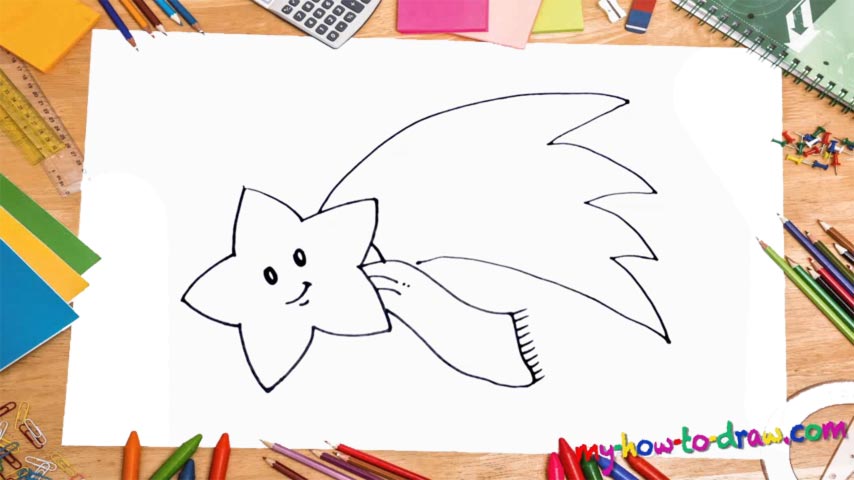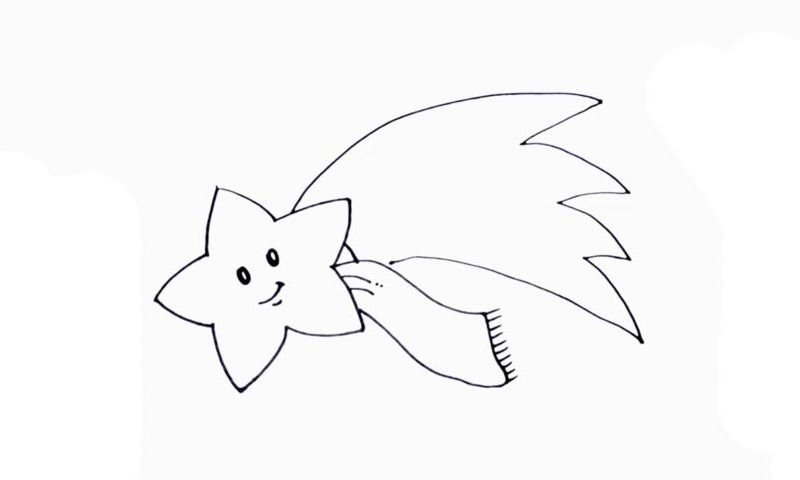
Learn How To Draw A Christmas Star Quickly
This is a classic star with five “legs”. However, it’s tilted a bit to the side, and we need to take that into consideration while working on this how to draw a Christmas Star tutorial. Start at the very top and don’t stop until you’re done with the whole object (00 min 07 sec). The next thing you should do is add the facial features (00 min 33 sec).
Wait, do stars have those? No, of course not, but this particular one does! The eyes are just two tiny ovals positioned right next to each other. For the mouth, you’ll need two simple horizontal lines. The huge “wave” follows (00 min 45 sec). It’s got four “spikes”. The scarf is the last step in this how to draw a Christmas Star tutorial and we’ll get to it right now.
It starts exactly where the wave ends (01 min 00 sec). Make sure you follow the hand in the video tutorial and create a similar shape. See how easy that was? Finally, go ahead and create a number of tiny lines at the very edge of the scarf to make it look more realistic. Are you in that magical Christmas mood now? Awesome, that means we did great with this video guide!
Before you learn how to draw A Christmas Star, did you know?
Despite the fact that in many countries, New Year is the main event in December, Christmas is still one of the most popular holidays in the world. Over the years, we’ve obtained quite a few symbols for it and celebrate with ornaments, wreaths, trees, and many other things.
This star is another object that has strong ties to Christmas. We usually put it on top of the aforementioned tree so that it can shine day and night. As for the scarf and that bow/ribbon, it’s meant to represent the spirit of this wonderful holiday, the spirit of being wild and free.