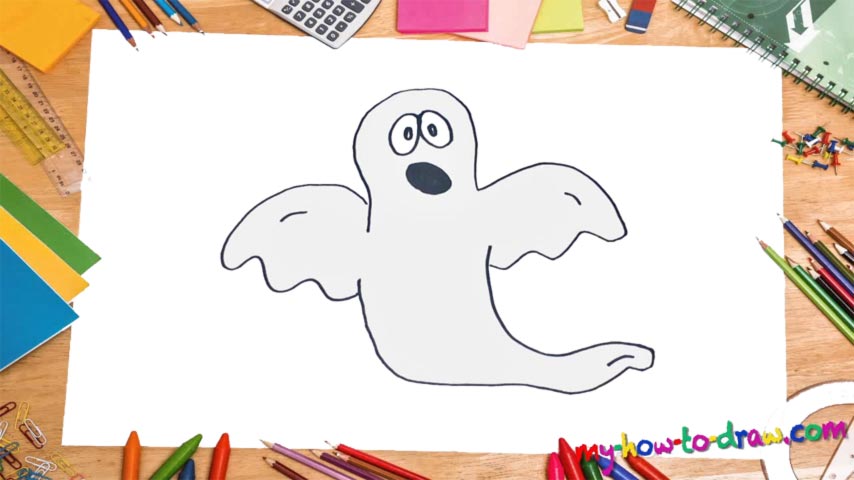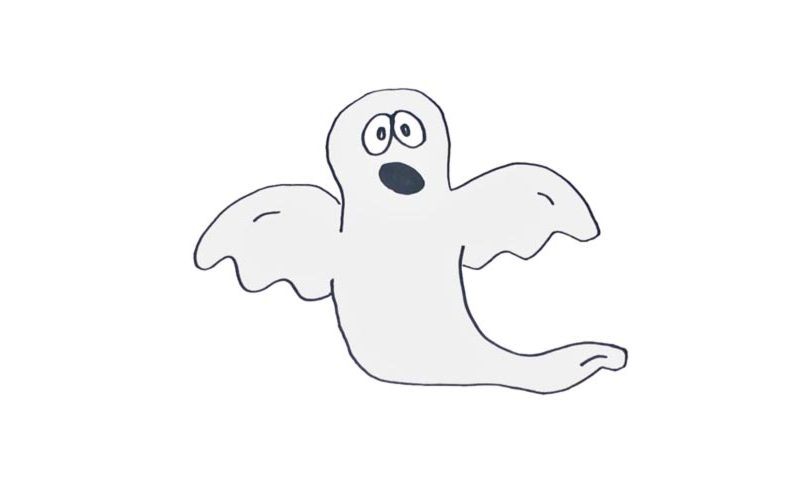
Learn How To Draw An Easy Ghost Quickly
As always, we’ll begin with the head – that’s the easiest way to create a perspective and get everything right with the proportions (00 min 06 sec). It’s not gonna be a standard round head – rather something that looks like a mask. And don’t lock it up at the bottom. Moving on with this how to draw an Easy Ghost tutorial, get to the hands slash wings (00 min 12 sec).
They are pretty much identical to each other, but if you’re going for additional realism, try to introduce tiny differences between the two. For example, make the right wing a bit longer and smoother than the left one. Doesn’t the drawing look a bit like a bird at this point? Yes, it does, but that’s going to change right now. See the “tail” at the bottom of the paper? That’s what we’re going to work on next (00 min 25 sec).
Now it looks like a mermaid! It’s ok, though, because once you add the facial features, you’ll get a proper phantom on your hands. That is the last step in this how to draw an Easy Ghost tutorial, by the way. If you’re a fan of the classic horror movies, then you already know that these beings come with huge eyes that overlap each other (00 min 35 sec). Add two tiny pupils inside each and create the mouth – an oval shape colored in black.
Before you learn how to draw An Easy Ghost, did you know?
Even though ghosts don’t really exist, and they are a work of fiction, there’s no denying the fact that the majority of us has “seen” one at a certain point in life. Thanks to the mass media and the popularization of these ethereal creatures, we blame them for every noise we hear in an old house. That’s the reality of today.
And while many cultures around the world believe in otherworldly beings and the fact that we turn into spirits after we pass away, there are no scientific facts. So, whenever you feel like there’s a ghost hunting you, just turn around and face the darkness: we promise there are no phantoms in our world!