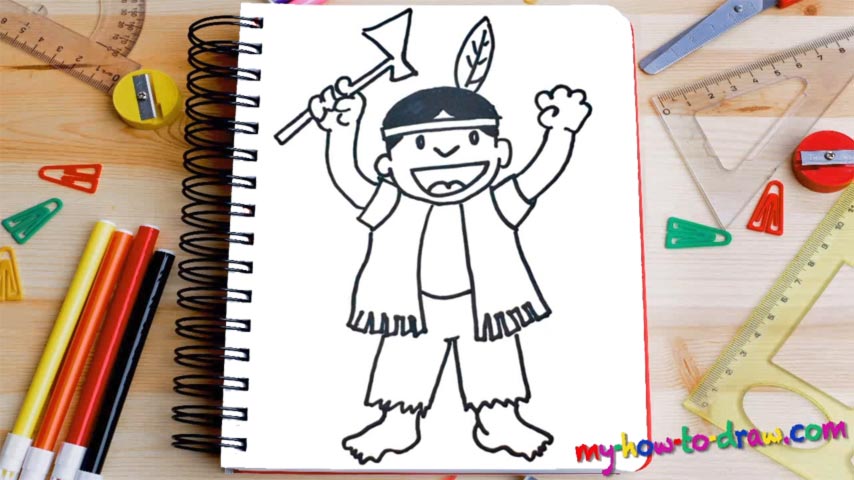
Learn How To Draw An Indian Man Quickly
Start in the right corner with the fella’s ear (00 min 06 sec). Go all the way down to shape the bottom of the head and reach the left ear in this how to draw an Indian Man tutorial. Next, add the white headband (00 min 20 sec). The hair sits right on top of it and even covers some space in the upper left and right corners (above the ears) (00 min 36 sec). See that tiny white triangle in the middle? Leave it there.
The leaf on top of the head looks great, doesn’t it (01 min 06 sec)? The facial features consist of two tiny circles for the eyes, a V-like line for the nose, and a triangle for the mouth (with a basic shape inside to imitate the tongue). If you’re happy with all that, then it’s time to get to the next stage of this how to draw an Indian Man tutorial.
The fancy shirt with those “cuts” at the bottom is on the menu (01 min 37 sec). It looks like a scarf. The hands are high in the air, and there’s a hammer in the left one (02 min 10 sec). The sleeves come first. The identical arms and fingers follow. The final steps are the trousers that almost reach the bottom of the legs, and the feet (03 min 10 sec). Even though we can see the toes, they are very primitive, which makes our job easier.
Before you learn how to draw An Indian Man, did you know?
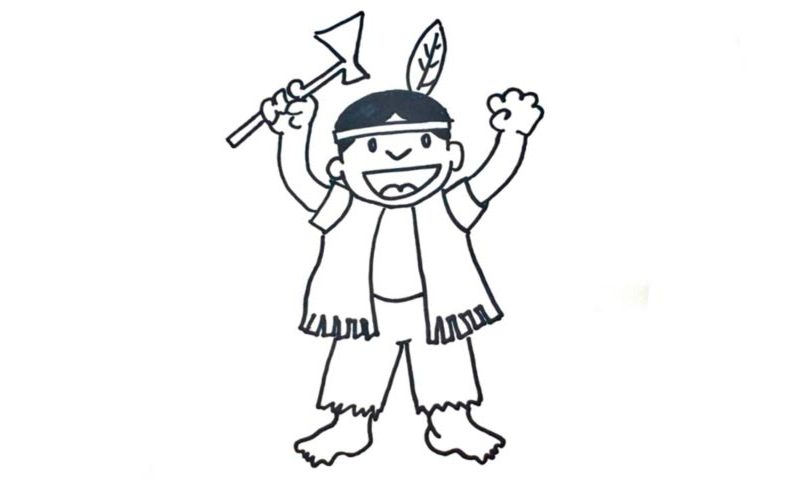
Basically, you can use this same drawing and claim that the man there is from Europe or even Asia. However, the leaf on his head instantly shows that he is, indeed, an Indian fella. Plus, the tomahawk in his hand – a classic weapon for his people – is another big reason to believe that we’re dealing with a proud Native American.
As you might already know from the history books at school, we’re calling these folks the indigenous peoples of the Americas, thus showing our respect for them. A lot of blood was shed when the European conquerors came to their lands. Thankfully, we all live in peace now.