Learn How To Draw A River Plate Shield Quickly
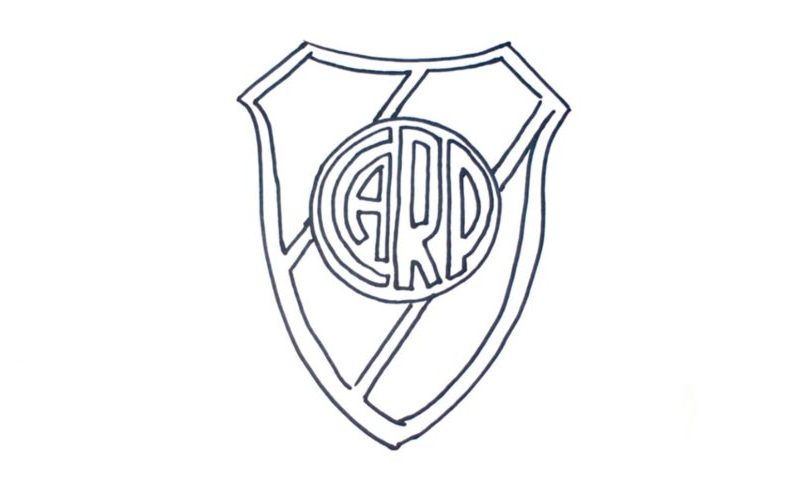
The shield comes first in this video (00 min 06 sec). It looks like a body armor from the ancient days and/or a modern-day shirt. Be accurate with your lines and make sure they are nice and curvy. This how to draw a River Plate Shield tutorial is all about smoothness. Once the main part is in place, we can move on to the rest of the lesson.
It will be a good idea to divide the “emblem” into four parts: you’ve got three separate sections and a big circle in the middle that holds the “CARP”. I recommend using simple shapes to outline the sections and leaving space in the center for the circle (00 min 30 sec). It will be much easier to handle this drawing that way.
After you’re done with that, go ahead and add the round shape in the middle (01 min 14 sec). Ok, we’re down to the final stage in this how to draw a River Plate Shield guide – the letters (01 min 33 sec). Start with the “C” and make your way to the “P”. Even though they are not standard, the letters are very easy and fun to draw.
Before you learn how to draw A River Plate Shield, did you know?
This wildly popular soccer club from Argentina was founded in 1901 – more than 100 years ago. These fellas have 35 championship titles behind their backs, which is an absolute record for the country. Plus, they were ranked #9 on the FIFA list of the best teams of the 20th century, making them true legends.
As the locals most certainly know, Boca Juniors are their biggest rivals, and a match between these two teams is always a sight for sore eyes. By the way, Superclásico is one of the most ancient derbies in the world. So, it’s obvious that there’s a lot of history there, and River Plate is a huge part of the game.
