Learn How To Draw An Eggplant Quickly
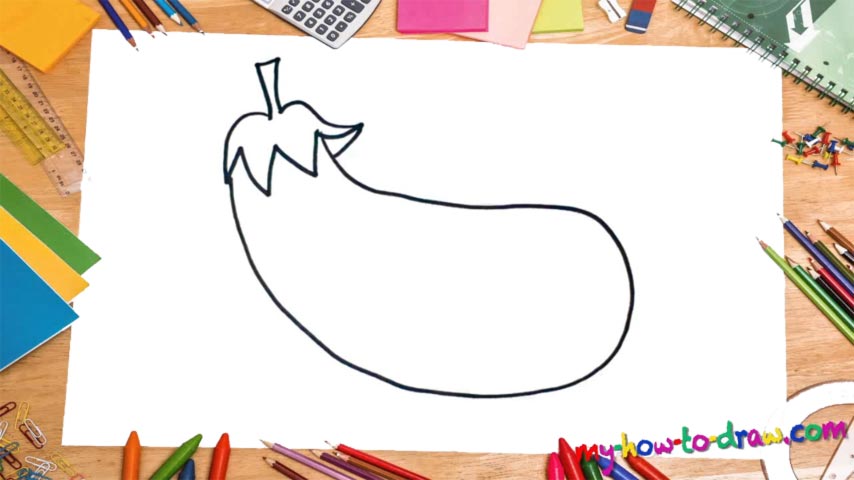
Looking for an easy drawing that will boost your confidence and look great once you complete it? You came to the right place! During this how to draw an Eggplant tutorial, you’ll do both. Start in approximately the middle of the paper with the main body of the plant/fruit (00 min 07 sec). Follow my guide and create a shape that looks a bit like a gigantic whale.
Be accurate with the curves, but don’t overdo it. The goal here is to match the Eggplant to the one in my example. If it’s hard for you to complete the whole thing in one go, master it in several steps. Is everything looking good on the paper? Great, then let’s move on with this video guide and add the “planty” part at the very top (00 min 21 sec).
This step of our how to draw an Eggplant tutorial comes with four zigzag-like parts that cover the bottom and the sides. Plus, there’s a tail in the upper corner (00 min 34 sec). That’s it! If you’re a fan of coloring, use black slash purple for the body and green-ish for the top.
Before you learn how to draw An Eggplant, did you know?
Technically, it’s a fruit, but we’re more used to treating it as a vegetable. Many cuisines around the world love and respect the Eggplant for introducing an awesome flavor to the somewhat “basic” meals. In the European countries, it’s a very common ingredient, while, say, in North America, it’s more of an exotic treat (in most states, anyway).
According to the historians, our kind has been cultivating the Eggplant for more than 1500 years, and it all started in the Middle Eastern region. The Arab merchants brought it to Africa in the IX century, while the European nations got their chance to try it out in the middle of the XV century, give or take. It took them a couple of hundred years to “fall in love” with it.