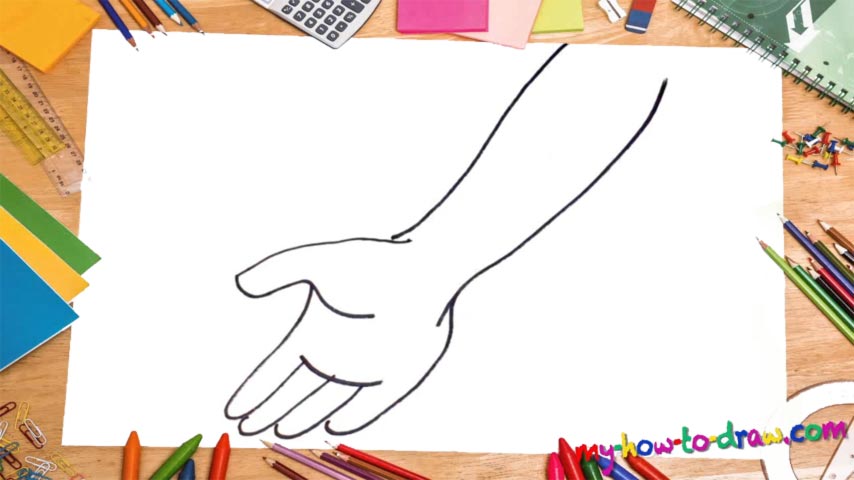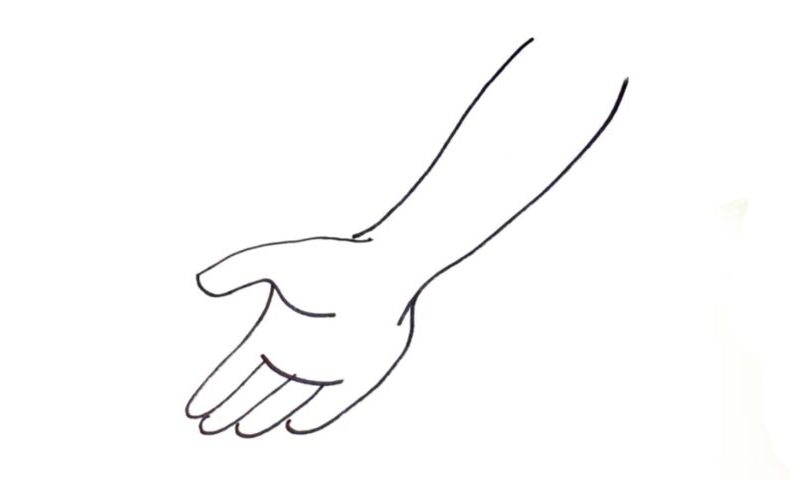
Learn How To Draw An Arm Quickly
Start with the right side (00 min 07 sec). The left side is almost identical to it, except that it’s a bit shorter and comes without a tiny curve at the end. The thumb, the next step in this how to draw an Arm tutorial, sits in the upper left corner (00 min 24 sec). As you can see, the palm is open in this drawing, and the rest of the fingers – four in total – are visible.
The finger on the left begins right in the middle of the thumb (00 min 32 sec). The first two fingers are almost identical to each other. The third one is a bit shorter, while the finger on the left is, of course, the shortest. Connect it to the line we added in the beginning and the arm will be pretty much done.
Don’t forget about the horizontal line that covers the two fingers in the middle (00 min 47 sec). Ok, the how to draw an Arm lesson if officially over! True, this is a basic composition, but it looks quite realistic. If you want, go ahead and add all the tiny veins, the hair, the wrinkles, and everything else in between.
Before you learn how to draw An Arm, did you know?
As one of the most complicated parts of our bodies, the Arms are capable of doing great things. We use them to lift weights, fight off the predators (or, at least, used to back in the day) and do other great things. Without the arms, we wouldn’t be able to build homes, drive trains, draw pictures, write books, or become legends of sports.
The Arms are very complex, and we don’t even know the half of the processes that are going on inside them during the day. Thankfully, modern-day medicine has a couple of trumps up its sleeve and is capable of saving lives and bringing people their arms/hands back even after terrible accidents. Appreciate your bodies and make sure you don’t take them for granted!