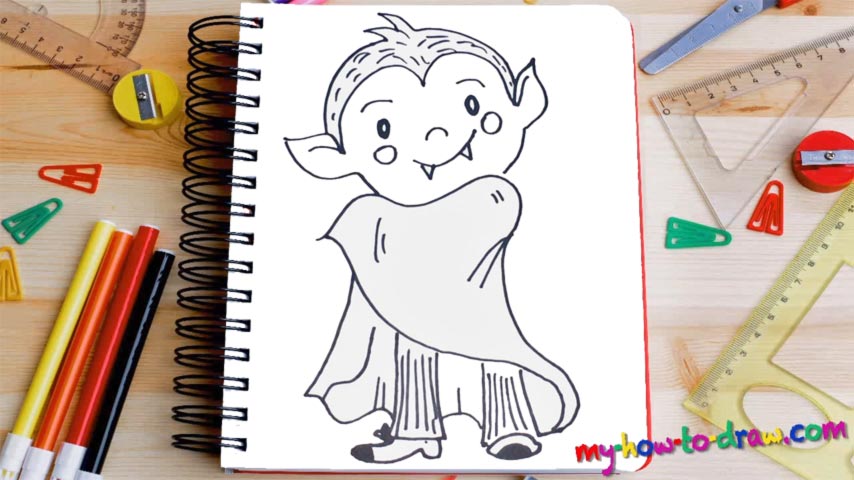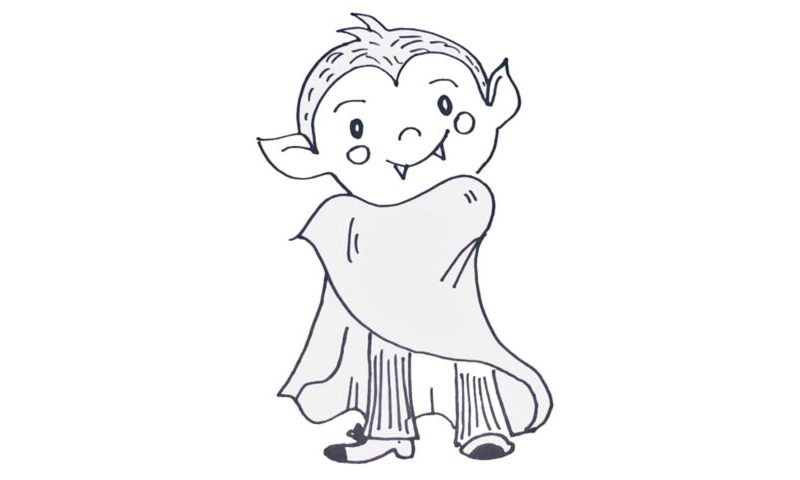
Learn How To Draw A Vampire Quickly
This is one of those sophisticated drawings that need the curves to be perfect. Keep that in mind while working on my brand-new how to draw a Vampire tutorial. Start with the top of the head and the pointy ears (00 min 07 sec). Don’t forget about the hair (00 min 35 sec). Once it’s in place, go ahead and add the facial features (00 min 47 sec). The eyes are super-tiny.
Same goes for the brows. The nose is just one simple line, while the mouth has two scary teeth on both ends. Plus, there are two small circles on the face that represent the cheeks (01 min 01 sec). Alright, the head is done. The body follows. He’s got a fancy cape on that covers most of the body and the hands (01 min 10 sec).
That means we won’t have to spend time working on the arms, fingers, and other parts. The cape is the most important step in this how to draw a Vampire tutorial. It’s imperative to get a clear image of the final result in your head. We can see the legs “poking through” the long and majestic clothing (01 min 28 sec). Ok, that’s it! All that’s left to do is complete the left side of the cape (02 min 08 sec).
Before you learn how to draw A Vampire, did you know?
These ugly beings hunt humans and drink their blood. The craving is too strong to control and they constantly need to feed to survive. A few decades back, the vampires used to hide in the shadows, the sewers, and the mountains during the day and hunt during the night.
But these days, we’ve got a brand-new breed (in the books and the movies, of course) that can stand the sunrays and looks like a million bucks. Edward in the Twilight series is one of the most popular characters in history, not to mention the teenage girls that go crazy whenever they see him.