Learn How To Draw A Viking Ship Quickly
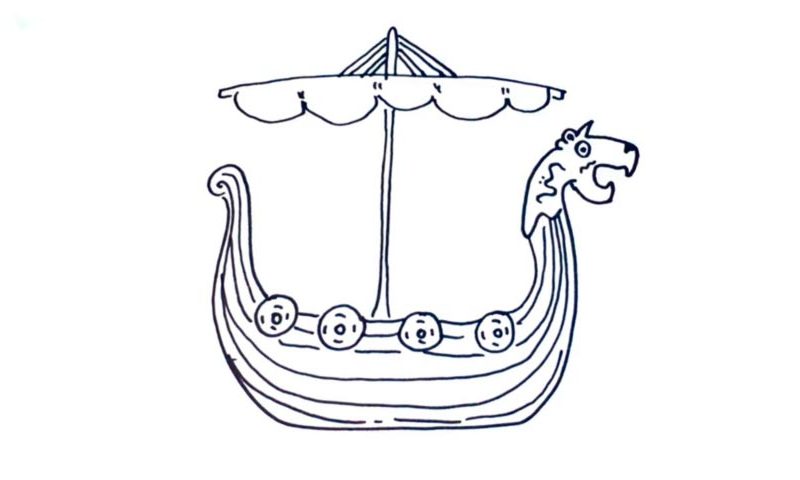
The main body of the ship looks a bit like a cooking pot. Begin by creating a curvy line to cover the very bottom of the deck (00 min 05 sec). Once that’s in place, go ahead and add that scary animal’s head on the stern – the next step in this how to draw a Viking Ship tutorial (00 min 18 sec). The shields on the side come next (00 min 59 sec).
They are used as protection against the potential enemy. Overall, we’ve got four of those, and they all look identical with tiny differences. Ok, everything’s going great so far. Let’s use a series of similar-looking curvy lines to complete the desk (01 min 25 sec). As you can see, they make the ship look 3-dimensional.
The one and only mast is the final stage in this how to draw a Viking Ship tutorial (01 min 55 sec). It’s very long and thin, while the upper half is nice and wide. The sail is located at the very top (02 min 07 sec). Use wavy lines for it.
Before you learn how to draw A Viking Ship, did you know?
You might already know from the movies, TV shows, video games, and books that the Vikings were one of the strongest folks to ever walk the Earth. As for their ships, they were truly exceptional. With a unique design and advanced features, they gave the warriors an edge in open sea battles as well as transportation capabilities during wars.
The one thing that all the Viking ships had in common was flexibility. Thanks to the clever design and symmetrical ends, they were faster and agiler than what the other nations had to offer. Some historians say that the Vikings really loved to put all kinds of scary “ornaments” on the stern to scare their enemies. However, that’s just a theory, nothing to take seriously :).
