Learn How To Draw A Hamster (Kawaii Version) Quickly
We begin with the identical eyes (00 min 06 sec). The right one comes first. As you can see, I’ve got ovals instead of circles, and they’re tilted a bit to the sides. Inside of each eye, you’ll need three circles of different sizes and shapes: they’ll be left white while the rest will be colored black (00 min 18 sec). That’s the prologue to our how to draw a Hamster (Kawaii Version) tutorial.
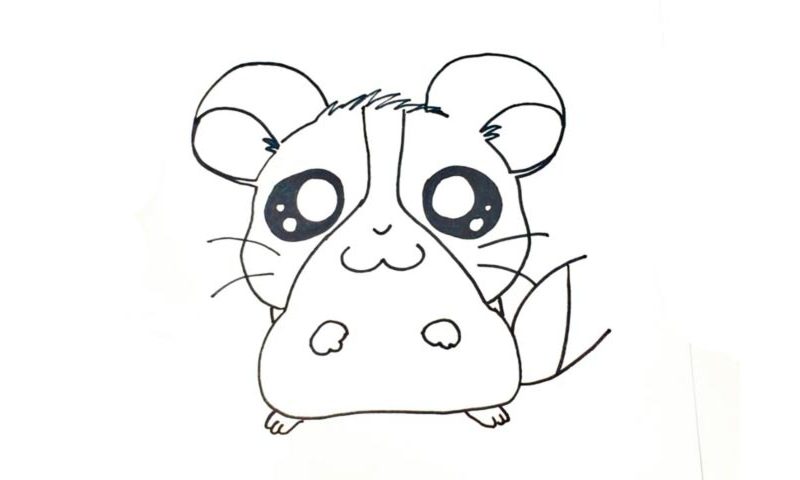
Once you’re done with all that, use a tiny curve for the nose and a simple wavy shape for the mouth (01 min 54 sec). Did you notice the brute’s hands in the lower corner (02 min 06 sec)? Add them right now. The next step is the “apron” covering most of the animal’s body (02 min 18 sec). It looks like a whiskey bottle without the cork. The head is next on the menu in this how to draw a Hamster (Kawaii Version) guide (02 min 44 sec).
Two curves on the sides will cover the cheeks. The ears sit right on top of them (03 min 01 sec). The upper corner is covered with a zigzag-like line that imitates the hair (03 min 34 sec). Our friend has four whiskers – two on each side (03 min 47 sec). The feet are a piece of cake. Same goes for the tail (04 min 00 sec).
Before you learn how to draw A Hamster (Kawaii Version), did you know?
Have you ever seen one of these tiny brutes in real life? It’s a sight for sore eyes, that’s for sure. The hamsters are very flexible, agile, and are constantly moving around to find food and shelter. But once they find it, these animals prefer to stay quiet and stick to themselves.
As rodents, the hamsters have all the key features of the order. It’s a known fact that kids all over the world love to have them as pets. And because the hamsters have absolutely no problem with breeding while in captivity, they reproduce at a very fast pace. In the wild, the hamsters are constantly in danger and have to hide from the predators.
 0
0