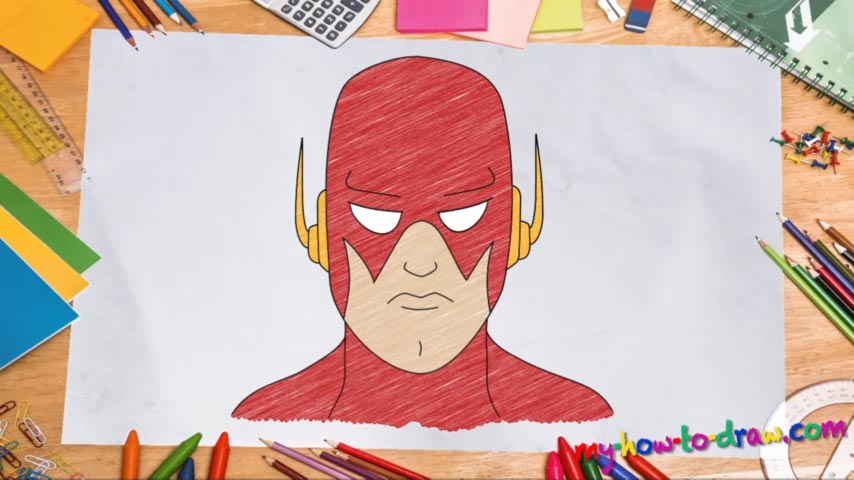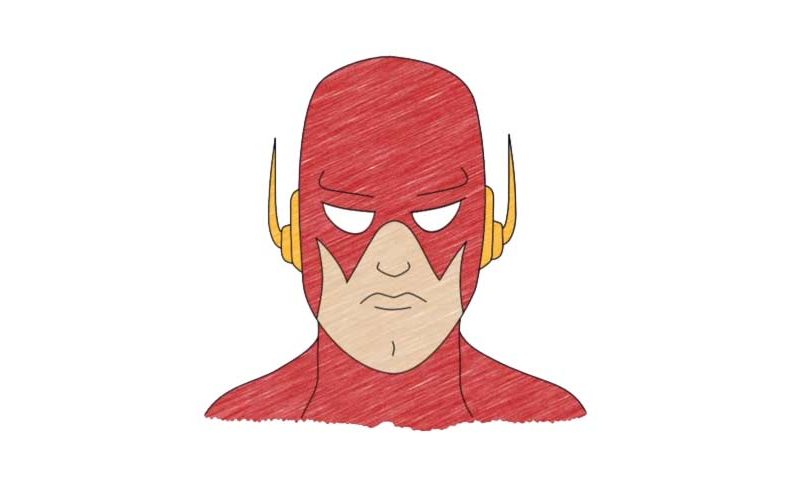
Learn How to draw The Flash Quickly & Easily!
As far as the simple-yet-awesome tutorials on our website go, this one’s right there among the very best. This superhero looks great and it won’t take much to create him. So, place your paper right, arm yourself with light strokes and let’s learn how to draw The Flash. Begin with the big oval for his head (00 min 25 sec). Next, divide it into four separate parts with 3 lines.
That’s it for the rough sketch. But don’t you dare to skip this part :). Because if you do, chances are, somewhere down the road, you’ll realize that the proportions aren’t right and will be forced to go back and fix it all. If everything looks good, switch to darker strokes and go over the guidelines for the head (00 min 46 sec). Make the lines extra smooth.
The next step in this how to draw The Flash tutorial is the mask – its lower part, to be exact (00 min 57 sec). It looks like a zigzag. The nose and the mouth follow right after it (01 min 15 sec). They are super-simple and are made up of three curves in total. Don’t forget about that line that represents the chin at the very bottom of the head (01 min 35 sec).
If you’re happy with the drawing so far, move on to the eyes. They look identical. The “flashy” ears will turn your character into a true hero (01 min 53 sec). They are made up of three simple shapes with the last one pointing up like an antenna. The final parts of the how to draw The Flash tutorial are the neck and the shoulder (02 min 37 sec). Make sure they are extra big.
Before you learn how to draw The Flash, did you know?
As the fastest man alive, this guy carries the weight of the entire world on his shoulders. He was just a young man when an accident turned him into the Flash. And, from that point on, he’s been fighting the bad guys and saving Star City from total destruction.