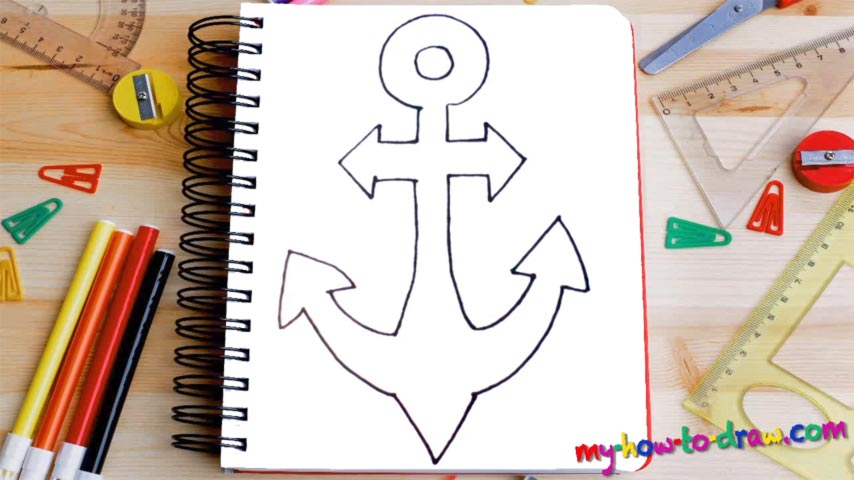
Learn How To Draw An Anchor Quickly
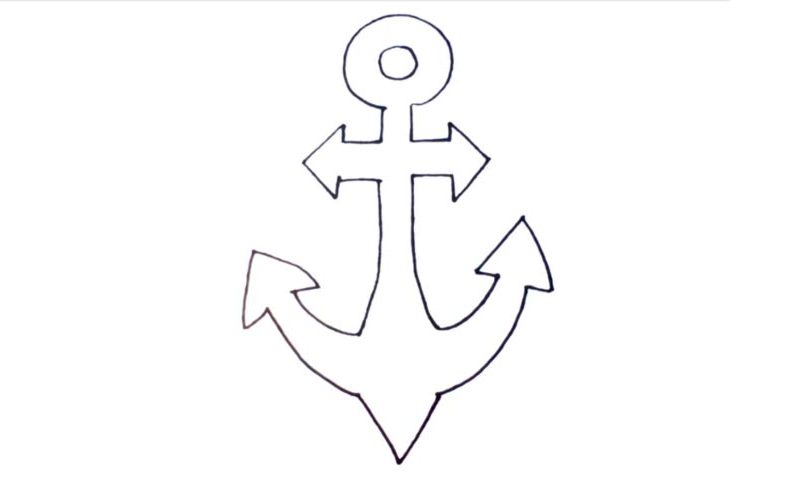
The most important thing to remember about this drawing is that it’s 100% identical on both sides. So, theoretically, you can complete the left side and reverse copy it to the right. But we’re not going to do that. We will begin this how to draw an Anchor tutorial in the upper corner with a tiny circle (00 min 07 sec). Once it’s in place, create another, bigger circle (00 min 15 sec).
But leave some space at the bottom for two vertical lines like you see in the video (00 min 24 sec). Now it resembles a key of some sorts, doesn’t it? The “arrows” come next (00 min 35 sec). Again, they are identical to each other. To get to the final part of the how to draw an Anchor tutorial, use two long, curvy vertical lines like you see in my example (01 min 17 sec).
They will make the drawing look like a sword. We’re still dealing with two equally sized and shaped arrows, only this time around, they are facing the sky (01 min 43 sec). To complete the lesson, add a V-like shape at the very bottom (02 min 02 sec). Ok, that’s it!
Before you learn how to draw An Anchor, did you know?
The anchor in our example looks a bit like a Christian cross, but it’s actually not a religious item. It is, indeed, an anchor, and is being used by ships to get grounded and stay in one place. Usually, it’s made of metal and is supposed to be strong enough to keep the sea vessel from being “blown away” by the wind, or, say, a mighty current of the ocean.
By the way, there are some permanent anchors out there that allow the sailors to “weld” the ship to the ground. These types are intended for, well, permanent use and won’t be effective in open water. While most anchors get hooked into the seabed, others hold the ship at bay thanks to an enormous mass. The best ones are a combination of both methods.

