Learn How To Draw An Ant Quickly
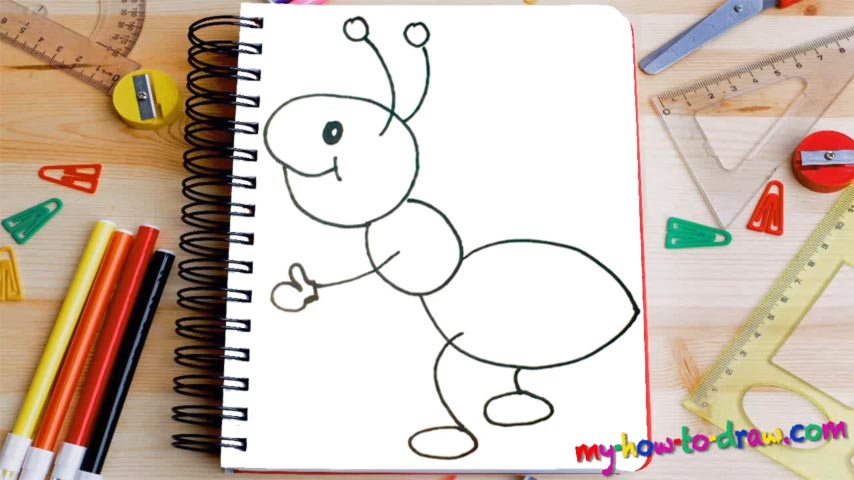
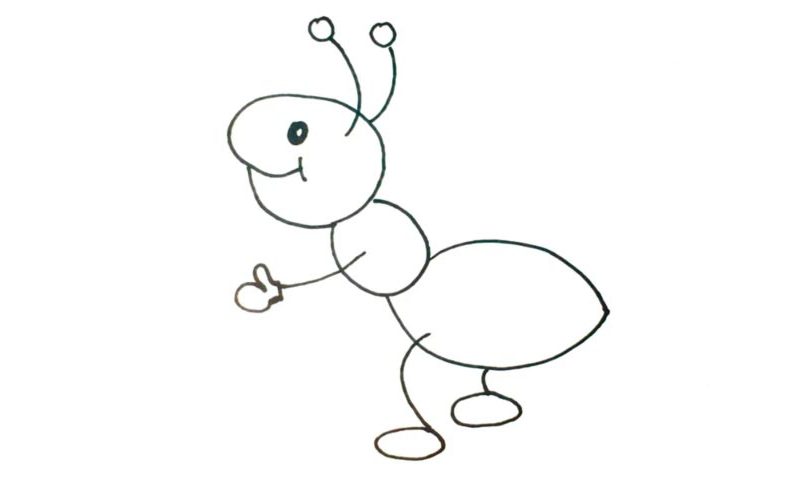
Begin in the lower right corner with the insect’s main body (00 min 07 sec). It’s an oval shape and looks like a lemon. The legs come next (00 min 20 sec). You’ll need two simple curves and circles at the bottom to complete this part of the how to draw an Ant tutorial. The middle half of the body sits, well, in the middle (00 min 37 sec).
It’s significantly smaller and resembles a nut. The one and only visible hand is giving us a “thumbs up” (00 min 45 sec). The hand looks like it’s wearing a boxing glove, while the arm is super thin and consists of one simple line. Alright, now it’s time to move on to the head – the next step in this how to draw an Ant tutorial (01 min 02 sec).
It resembles a potato or an egg with a cut in the middle that serves as the mouth. The eye should be colored black with a white spot in the center (01 min 15 sec). The antennas are the final part of this video lesson (01 min 21 sec). They are identical to each other.
Before you learn how to draw An Ant, did you know?
These insects have been around longer than us, the humans. Together with the bees and the wasps, they dominate the world (according to the scientists). There are approximately 22 thousand (!) species of ants on our planet, and they haven’t even all been classified yet. Ants are known as colonial creatures that depend heavily on each other.
Their “groups” vary in size and can be as small as a dozen ants and as big as millions of insects. The scientists are calling these impressive colonies “superorganisms”, as all the ants in a colony seem to be working together towards a mutual goal, like a mastermind is controlling their every single action.