Learn How To Draw A Witch Quickly
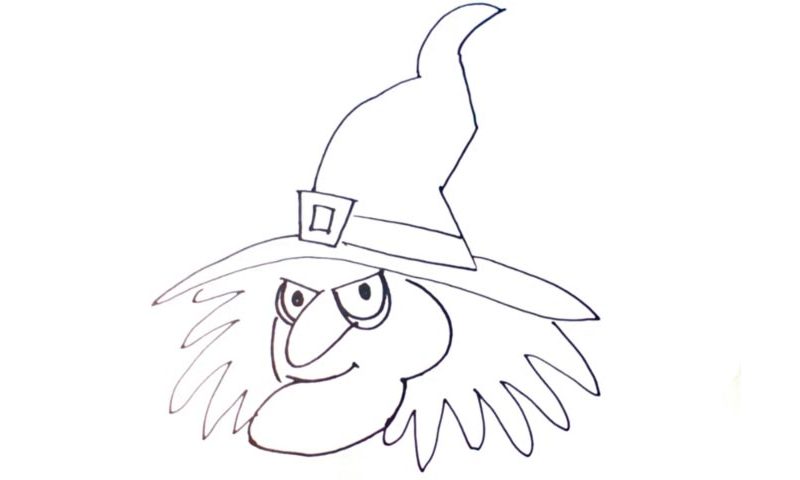
That fancy hat is probably the most in-your-face part of this drawing; so, we’ll start there (00 min 06 sec). As you can see, this is a pretty peculiar hat, something between a cylinder and a classic cap. Make sure you get all the straight and curvy lines right. The horizontal lines at the bottom of the shape we just made are next in this how to draw a Witch tutorial.
We’ve got two of those, and there’s a double square on the left side (00 min 21 sec). Once it’s in place, the hat will be pretty much done. Not quite: we will still need to add the lower half of it (00 min 32 sec). Use long, curvy lines for this part. Alright, now we can move on to the next part of this how to draw a Witch tutorial – the face (00 min 45 sec).
The right side of it looks a bit like a reversed number “3” with a twist. The big nose sits next to it (01 min 02 sec). It should be long and pointed forward. The scary eyes will help you finish this lesson (01 min 06 sec). The outer parts look like shields; for the insides, use tow half-circles and two ovals. The messy haircut completes the drawing (01 min 32 sec).
Before you learn how to draw A Witch, did you know?
These mystical creatures are generally evil and live secluded lives somewhere in the middle of nowhere. Brave heroes come across them in dark, scary forests and do their best to be victorious. Normally, witches serve the evil kings and queens, giving them extra powers and poisoning their enemies. That’s what we’ve learned from the fairytales.
However, these days, witches are young, beautiful, and kind-hearted. The modern-day TV shows and movies introduced a new trend, and we’re slowly, but steadily forgetting about the original concept. Which one is closer to the truth? Which one do you like the most?
