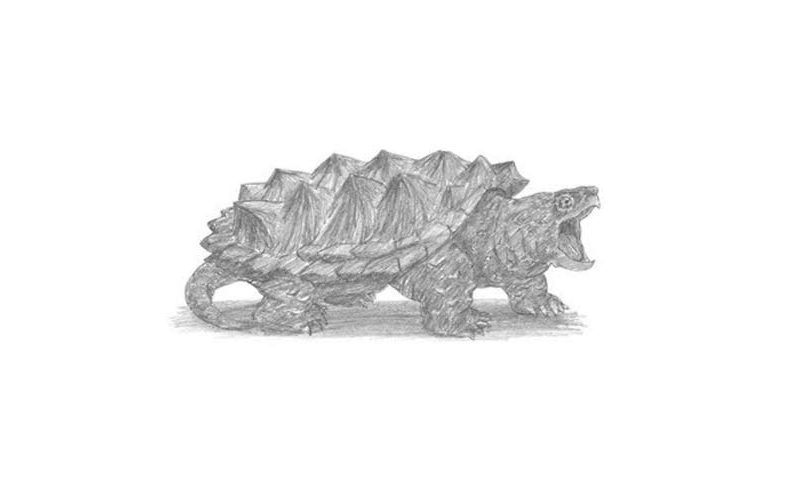
Learn How To Draw An Alligator Snapping Turtle Quickly & Easily
Even though the beast looks pretty scary, it’s actually quite easy to draw. Start in the right corner with a tiny circle and two “ears” (00 min 07 sec). Another, much bigger circle, sits in the middle of the paper (00 min 14 sec). To complete the intro to this how to draw An Alligator Snapping Turtle tutorial, add another small circle in the far left and connect it to the rest of them (00 min 20 sec).
Oh, and don’t forget to mark the legs (00 min 24 sec). The one and the only eye is located in the upper right corner of the 1st circle (00 min 28 sec). It’s quite straightforward. Use the half-ovals to shape the mouth. The gigantic legs follow (00 min 5 sec). Make sure you get the sizes right. The shell covers most of its back (01 min 06 sec). Start in the left corner of the right front leg.
You’ll need a series of “spikes” on top of each other – nothing hard about that part. Once the remaining two legs and the tail are done, the how to draw An Alligator Snapping Turtle tutorial will be pretty much over (01 min 37 sec). Get rid of the guiding lines next. Finally, color the beast black (01 min 54 sec).
Before you learn how to draw An Alligator Snapping Turtle, did you know?
These big, scary-looking beasts mainly live in the US and are considered to be one of the heaviest species of turtles on the planet. So, why the name, you might ask? First of all, the AS turtles have incredibly powerful jaws and their necks are unusually long for turtles. Secondly, their backs look like those of alligators.
The males usually weigh up to 100 kilograms and more. Throughout history, there have been several mentions of an alligator snapping turtle weighing more than 180 kilograms. They look a bit like dinosaurs and have similar features, like the aforementioned shell. On average, these creatures live for up to 120 years and more (less in captivity, though).

