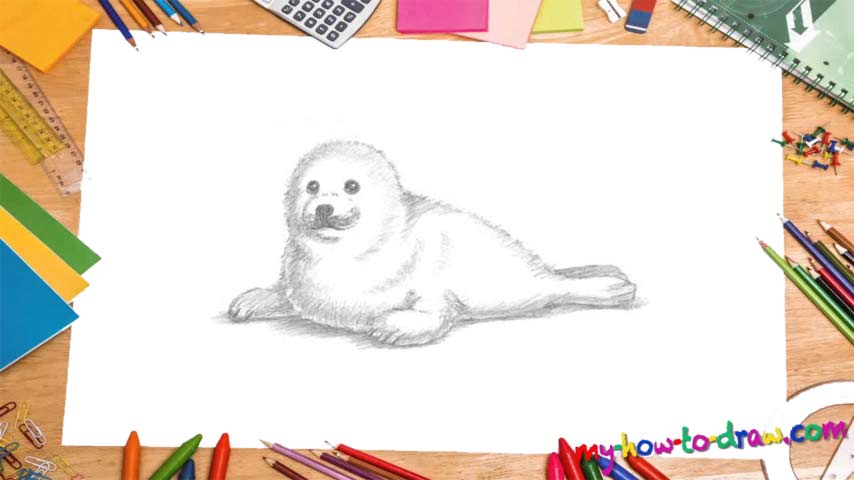
Learn How To Draw A Harp Seal Pup Quickly & Easily
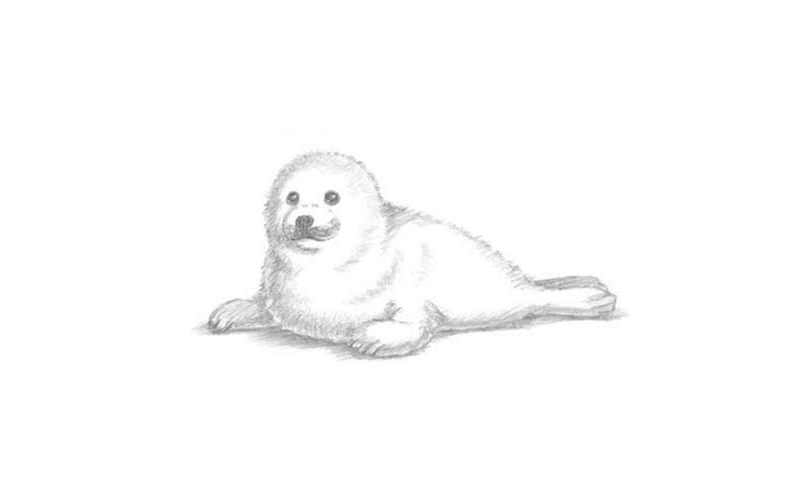
To do everything right, we’ll begin with some basic guidelines for the head (00 min 07 sec). Basically, for the intro to the how to draw A Harp Seal Pup tutorial, you’ll need a circle with two simple lines. That tiny oval at the bottom is there for the mouth and the nose (00 min 14 sec). Add another, much bigger circle in the lower corner of the paper for the front body (00 min 17 sec).
The arrow-like shape on the right represents the rest of the body (00 min 21 sec). No need to make these lines 100% accurate – we’re just marking our territory right now, so to speak. Once you add the flippers, we can move on to the main part and start with the eyes (00 min 30 sec). Color them black mostly but leave two tiny white spots in each.
The cute nose sits in the middle of the circle we drew earlier (00 min 46 sec). The mouth is very simple; the same goes for the fins. To complete this how to draw A Harp Seal Pup tutorial, watch the video closely and add the fur with the pencil (01 min 22 sec). Don’t forget to delete the guidelines (01 min 29 sec)! Shading will help you make it look more realistic
Before you learn how to draw A Harp Seal Pup, did you know?
You can find these beautiful creatures in the Atlantic and Arctic Oceans. They belong to the group of so-called earless seals and can survive even the harshest weather in the coldest regions of planet Earth. The males of harp seals are bigger and stronger than the females.
The pubs, in turn, are pretty fragile and need some time to adjust to the outside world before turning into independent animals. Harp seals are known for their impressive skills under the water and can dive for up to 20 minutes without any breaks. So, what do these creatures eat? Fish, mostly.