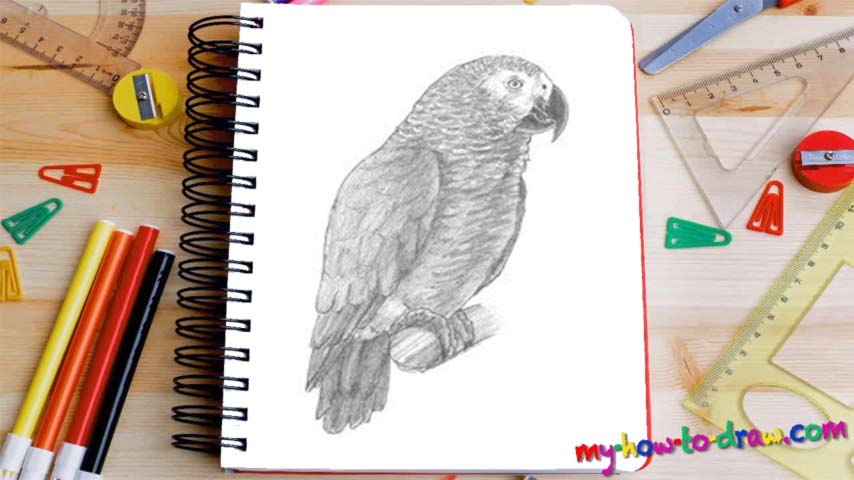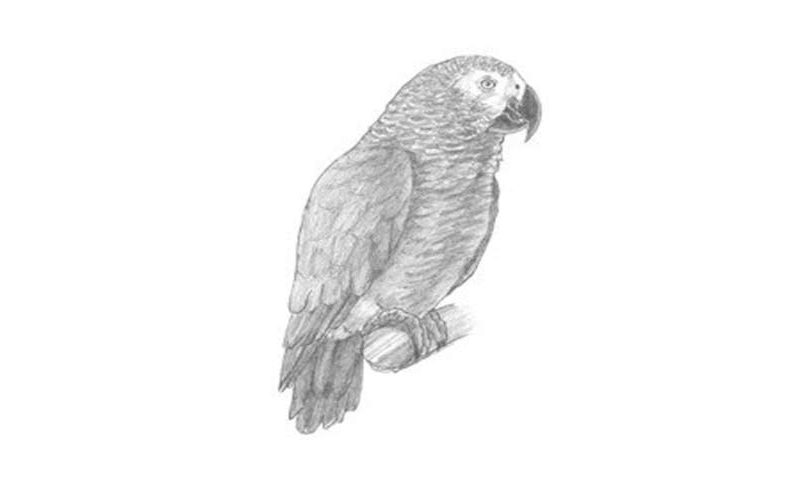
Learn How To Draw An African Grey Parrot Quickly & Easily
If you want to get this drawing right from the get-go, then spent a minute on creating some guides. The circle in the middle is there for the body (00 min 07 sec). That curvy line at the bottom of it is for the tail. There’s another circle, a smaller one, in the upper right corner (it’s for the head). Cut it into four parts with two dividing lines (00 min 15 sec). The beak follows.
Ok, that’s it for the intro to this how to draw An African Grey Parrot tutorial. Now let’s get to the eye (00 min 24 sec). Cut that curve on the right of the head we drew earlier in two to form the beak. Don’t forget about those trademark dots around the eye (00 min 45 sec). The wing is the next step. It’s relatively smooth in the upper half; at the bottom, the wing is covered in three layers of feathers.
The claws holding on to a log will complete the how to draw An African Grey Parrot video guide (00 min 55 sec). Finally, grab your favorite eraser to get rid of the guiding lines (01 min 12 sec). Doesn’t the bird look really cool right now? For coloring, use big, wavy lines to accentuate the feathers.
Before you learn how to draw An African Grey Parrot, did you know?
These medium-sized birds usually weigh around 400 grams and reach 35 centimeters in length. Yep, they’re pretty tiny. At the same time, the African Grey Parrots are quite nimble and fast, which helps them survive in the somewhat harsh environment that they live in. Interesting fact about the colors:
Even though they’re mostly grey, these parrots have red tails, and that makes them look stylish and fancy. Interesting fact: the males and the females look almost exactly the same; plus, the adults mostly have the same features and characteristics as the juveniles.