Learn How To Draw A Lynx Quickly & Easily
For the guidelines to this drawing, we’ll need three circles – two for the body, and one for the head. Begin in the left corner and gradually move to the right (00 min 07 sec). The dividing lines and the triangles on top of it make the head look like that of Batman. The two circles for the body are significantly bigger (00 min 15 sec). Connect them to each other with simple horizontal lines.
The tail and the legs are easy. The cat-like eyes are the next step (00 min 25 sec). For them to look sharp, don’t go for an oval, but rather a narrower shape. The nose and the mouth follow (00 min 35 sec). Use fluffy lines to mark the white tiny circle in the middle of the animal’s face.
The ears should be nice and perky to accentuate the predator’s nature (00 min 43 sec). Don’t forget about the “double beard” at the bottom (00 min 52 sec). The body is the final part of the how to draw A Lynx tutorial (01 min 00 sec). The legs are pretty big; and, they come with three fingers each. Obviously, you should delete the guiding lines with an eraser next (01 min 25 sec).
Before you learn how to draw A Lynx, did you know?
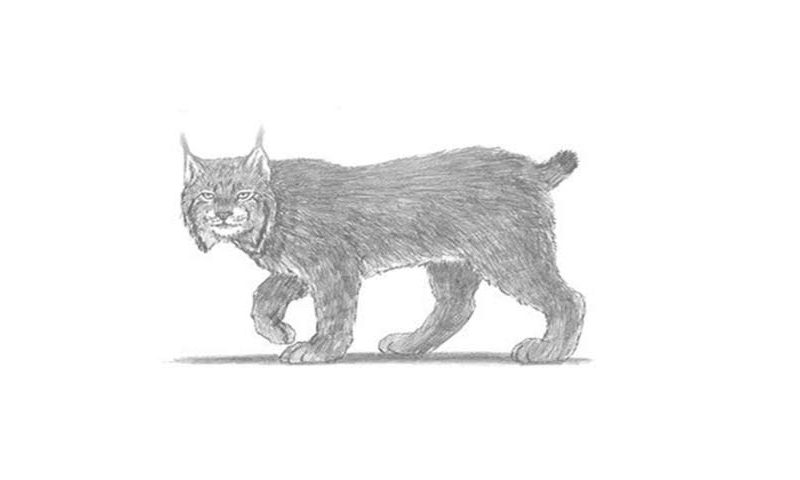
Known as a wildcat, the lynx is pretty dangerous and can enchant you with those reflective eyes. These creatures have quite a few characteristic features, including the strands of black hair on top of the ears, the big, lion-like paws, and the super-long whiskers (probably the longest ones among cats).
By the way, those paws are not just for the heck of it: they allow lynx to walk on snow with relative ease. On the chest, they have white fur; the main body color varies from goldish to brown to beige-white, all of which look absolutely amazing.
