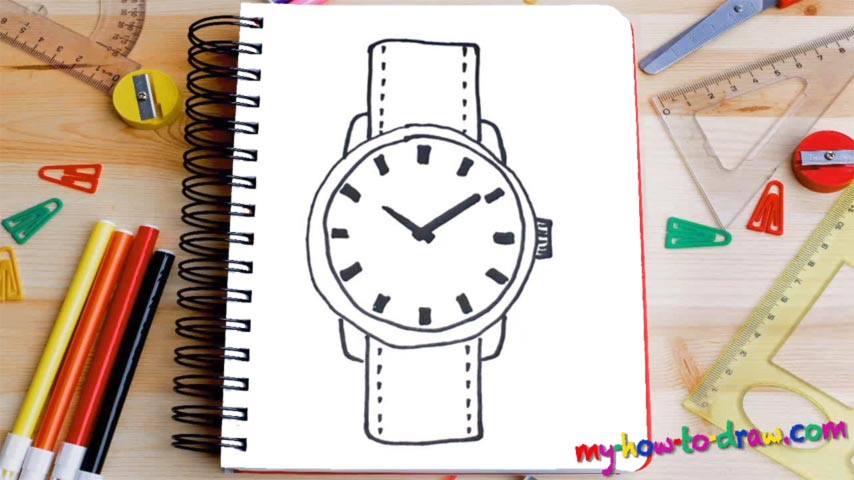
Learn How To Draw A Wristwatch Quickly
The circle in the middle is the starting point for us (00 min 07 sec). So, put it in first. Make it nice and round, but not 100% smooth. Add another one just like it inside (00 min 18 sec). Now we move on to the next step in this how to draw a Wristwatch tutorial – the bands (00 min 30 sec). The one on top comes first. They’re both identical to each other and look smooth.
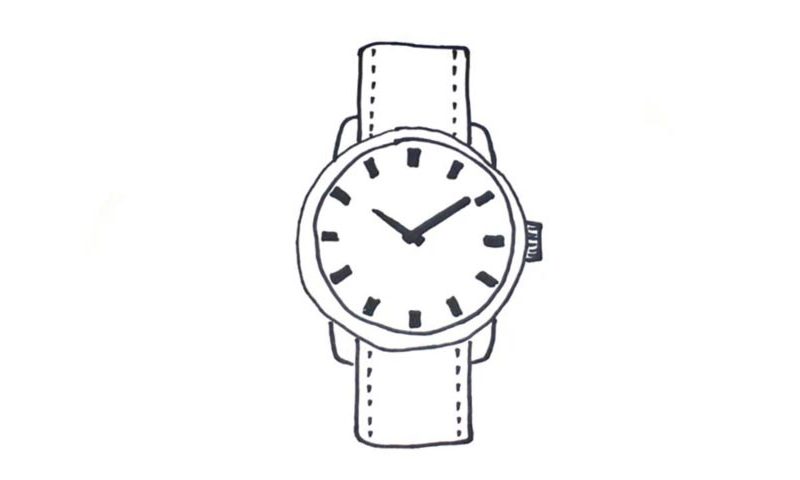
Don’t forget to draw those classic dots on both sides to accentuate the fact that this is an expensive brand (00 min 48 sec). The parts of the mechanism that cover the watch from four sides come next (01 min 05 sec). See that tiny (but highly important) detail on the right? Add it before you get to the next step in this how to draw a Wristwatch tutorial.
Ok, we’re almost done with this video guide. All that’s left to do is create the clock face for an even more realistic image (01 min 24 sec). You’ll need four black and equally shaped and sized rectangles for this. And, of course, make sure you draw the clock’s hands (02 min 22 sec). Alright, now we’re officially done! I believe we created quite a realistic drawing that looks like the real thing.
Before you learn how to draw A Wristwatch, did you know?
Back in the day, you could say a lot about a man’s social status by just taking a look at his watch. These days, more and more people are sticking to their I-phones, which means the wristwatch is slowly but steadily becoming something outdated and simply useless.
Still, certain folks around the world appreciate what these things represent and prefer them over the gadgets. You can get a solid wristwatch for a fair price these days. It will help you stand out among your peers that might not even understand your choice but will, most certainly respect it.