Learn How To Draw A Worm Quickly
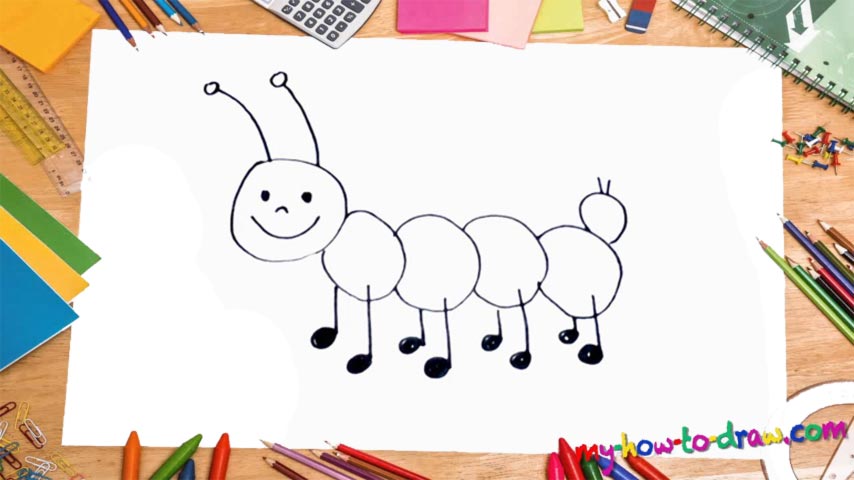
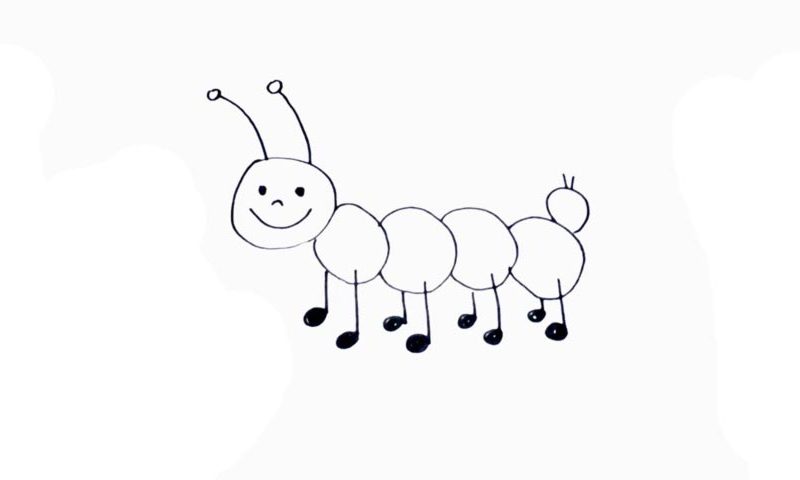
The round head in the far left corner is the first thing to take care of in this tutorial (00 min 06 sec). Next, get to the facial features (00 min 12 sec). Now, you must already know that these creatures don’t have a set of eyes, a nose, and a mouth like in this drawing, but let’s just go with it :). After all, we’re here to learn how to draw a Worm that looks funny, not super realistic.
The antennas on top of its head follow (00 min 20 sec). As for the body, it consists of four circles of approximately the same size and shape. And, there’s a tinier one at the end for the “tail”. Start with the circle that’s closer to the head and make your way to the right (00 min 27 sec). Add two simple lines on the tail (00 min 43 sec). At this point, we’re almost done with the how to draw a Worm tutorial.
All that’s left to do is work on the legs. Our hero has eight in total – two for every “body circle”. They look exactly like musical notes, and that gives the worm a certain cool touch. Start in the right corner and make sure the legs are nice and smooth, matching each other in size.
Before you learn how to draw A Worm, did you know?
We use this term to describe all the animals on planet Earth that have no limbs and come with long, tube-like bodies. Generally, these guys are harmless and mind their own business. At the same time, there’s a huge number of parasites that infect every living creature out there.
In this particular tutorial, we’ve got quite a simplified image of a worm that stands on its legs (which is not really a common thing in the real world). The idea here is to have some fun and learn a thing or two along the way. Keep in mind that this isn’t a biology class, and we don’t have to be 100% accurate with our drawings.