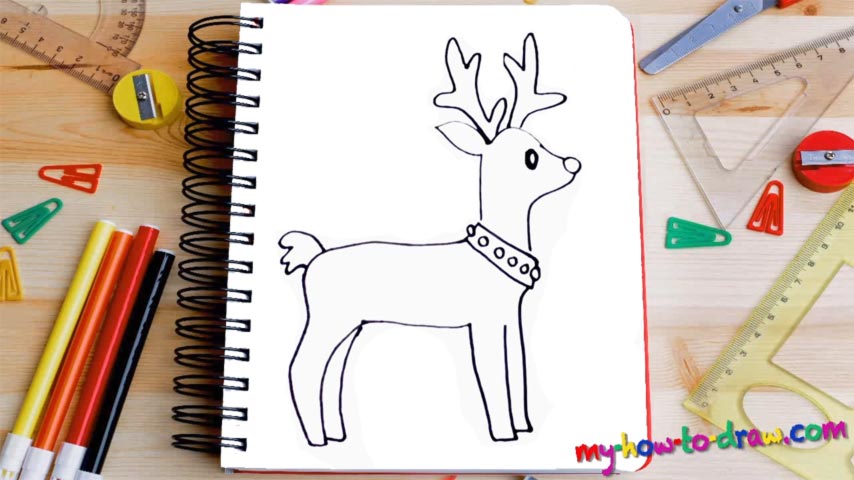
Learn How To Draw A Reindeer Quickly
Let’s start with the animal’s head (00 min 08 sec). Because of the angle, we can only see the left ear; put it in right now. It’s got a cute nose at the end of the jaw and a tiny eye (color it black but leave some space in the middle). The antlers, the next step in this how to draw a Reindeer tutorial, look beautiful on top of its head, don’t they (00 min 31 sec)?
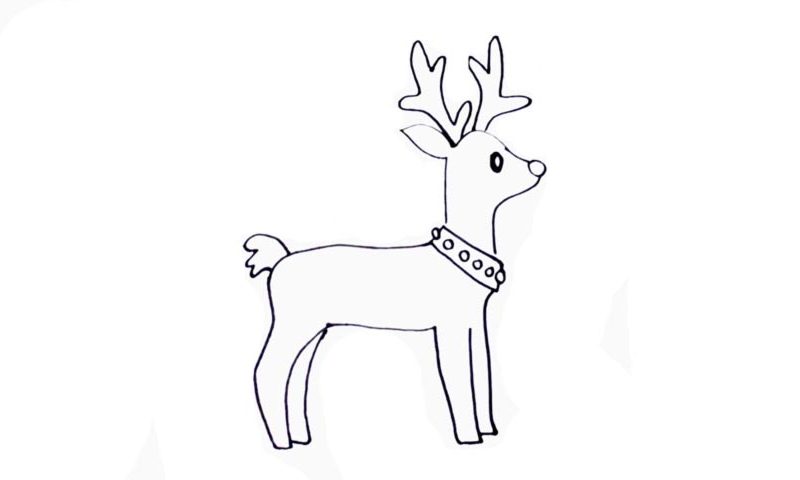
Keep in mind that even though they do look alike, there are some differences between the two, and you shouldn’t make them identical to each other. Ok, we’re done with the head. Let’s move on further down and take care of the body. The collar on the neck comes first (00 min 50 sec). As for the body, it’s much easier to complete than the head, because it comes with fewer details.
Begin with the front legs and make your way to the left (01 min 06 sec). This is the last step in our how to draw a Reindeer tutorial, by the way. The hooves don’t have a place in this drawing, and the front legs are made up of primitive straight lines; the ones in the back are much smoother and curvier. To complete this video-guide, don’t forget to add that cute tail on the animal’s back.
Before you learn how to draw A Reindeer, did you know?
This is a very special species of deer that inhabits the harshest territories in the world, including the tundra, the Arctic, and the subarctic regions. The so-called “Taimyr” herd in Russia is considered to be the biggest and strongest reindeer herd on planet Earth, with an estimated number of 400K-1 million.
Now, if you’re not a hunter and/or a fan of the wild animals, you might think that these guys are an easy catch. However, that’s not really true, and the wild reindeers have quite a mighty kick, not to mention those antlers that can tear through both flesh and bone!