Learn How To Draw A West Highland White Terrier Dog Quickly & Easily
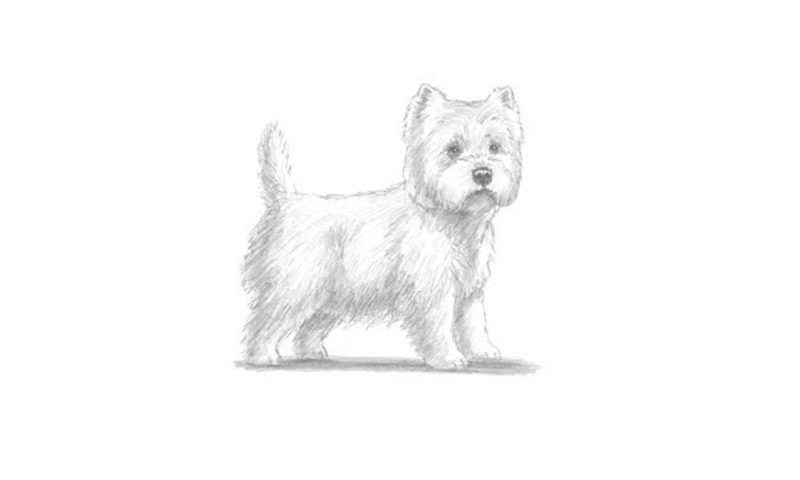
We start by creating a round circle in the upper right corner of the paper (00 min 07 sec). Next, cut it into several parts by using two dividing lines (00 min 11 sec). See the smaller circle at the bottom? Add it first before moving to the next step of the how to draw A West Highland White Terrier Dog tutorial.
The pointy ears complete the guides for the head (00 min 15 sec). For the body, you’ll need two more circles sitting next to each other. Once you add the four simple lines for the legs and another one for the perky tail, it will be time to switch to hard strokes. Begin the next part of the how to draw A West Highland White Terrier Dog tutorial with the identical eyes (00 min 29 sec).
The bulldog-like nose sits right below them (00 min 43 sec). The final stage of the video guide can be called “fluffy”, as you’ll need wavy lines for the head, the body, and the legs (00 min 50 sec). Each leg has three toes (01 min 08 sec). Don’t forget to get rid of the guides (01 min 22 sec).
Before you learn how to draw A West Highland White Terrier Dog, did you know?
As far as the cutest dog breeds on planet Earth go, this one’s right there among the leaders. Known among regular folks as Westie, this Scotland-born dog is the star of social media around the globe. That harsh coat over the soft undercoat makes it look oh-so-cute, and that’s why it’s so popular.
Even though this is a medium-sized terrier, Westie is pretty fast and nimble. Plus, it’s unusually intelligent, learns everything with ease, and can be the owner’s best friend, if treated right. Back in the day, this breed was used to hunt rodents, which means they still know how to stalk their prey.
