Learn How To Draw A Cartoon Werewolf Quickly & Easily
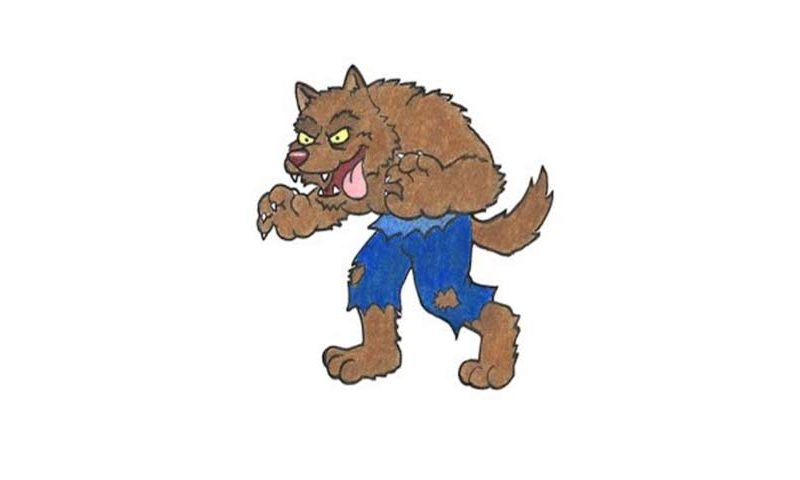
The eyes, or, rather, the brows of the animal come first (00 min 08 sec). In order to make the eyes look angry and “predatory”, make the lines nice and sharp. For the nose, the next step in this how to draw A Werewolf tutorial, you’ll need one simple oval shape (01 03 sec). The muzzle follows (01 min 14 sec).
Once the upper half of the mouth is in place, go ahead and add the scary teeth (01 min 35 sec). The tongue sits in the upper right corner (01 min 41 sec). It’s a classic cartoon tongue, nothing difficult. Draw two more teeth at the bottom; then, jump to the top of the head (02 min 15 sec).
Use zigzag-like lines for the short hair and the ears. To connect the top to the bottom, use a C-like wavy line on the right (02 min 40 sec). To finish this how to draw A Werewolf tutorial, complete the body of the beast (02 min 57 sec). See the hand to the right? It’s got 4 fingers (and four claws). That line on top of the hand is for the back (03 min 45 sec).
The right hand is almost the same (04 min 10 sec). The legs are pretty big, but they’re actually the easiest part of the tutorial (04 min 51 sec).
Before you learn how to draw A Cartoon Werewolf, did you know?
If you love to watch modern-day movies and TV shows, then you don’t need us to explain to you what a werewolf is. In European folklore, these beasts play a vital role and are very present. In the 90s-2000s, after a boom in sci-fi, fantasy, and thrillers, werewolves were becoming less and less popular.
However, in the 2010s, they made a huge comeback and took over the hearts and minds of the teenagers. During the day, you won’t be able to recognize a werewolf (when it’s in the human form). But once they shapeshift into wolves, everything changes and they turn into dangerous predators.
