Learn How To Draw A Cartoon Bald Eagle Quickly & Easily
The eyebrows come first in this video guide (00 min 10 sec). The eyes sit right below them. In order to make the beak look realistic, draw a wavy line for the upper half of it (00 min 46 sec). Those two dots are for the nostrils; the bottom of the beak looks like a reversed version of the top (01 min 02 sec).
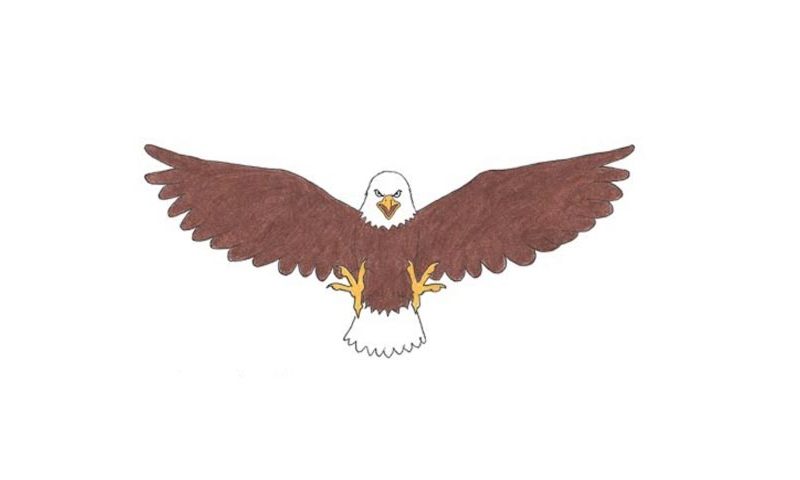
To complete this part of the how to draw A Cartoon Bald Eagle tutorial, you’ll need two V-like shapes (01 min 20 sec). Alright, now we can move on to the head. The sides and the top are pretty basic. The bottom, however, should be nice and fluffy (01 min 55 sec). The big toes with those scary claws come next (02 min 17 sec). Make sure they’re identical to each other (and reversed, of course).
Each leg has four toes. The gigantic wings are the most important part of this how to draw A Cartoon Bald Eagle tutorial (03 min 40 sec). They’re also identical, but you can introduce tiny differences to make the drawing more realistic. The upper lines are flat; the lower lines, in turn, consist of a series of arcs. Finally, move to the bottom and add the tail (04 min 54 sec).
Before you learn how to draw A Cartoon Bald Eagle, did you know?
Doesn’t this eagle look like a perfect predator? In a way, it is. There aren’t that many creatures in the world that can match the bald eagle’s speed, precision, agility, and strength. This is a bird of prey and its “home” is North America. Mostly, you can find this fascinating beast in Canada and Alaska.
Go to large bodies of open water where the bald eagle is stalking its prey. You must’ve seen at least a couple of fascinating videos where this predator swoops down into the water, grabs its prey, and then flies away to enjoy its meal. Interesting fact: they aren’t bald, per se – it’s just that in the past, “bald” used to meant “white-headed”, so, there you have it.
