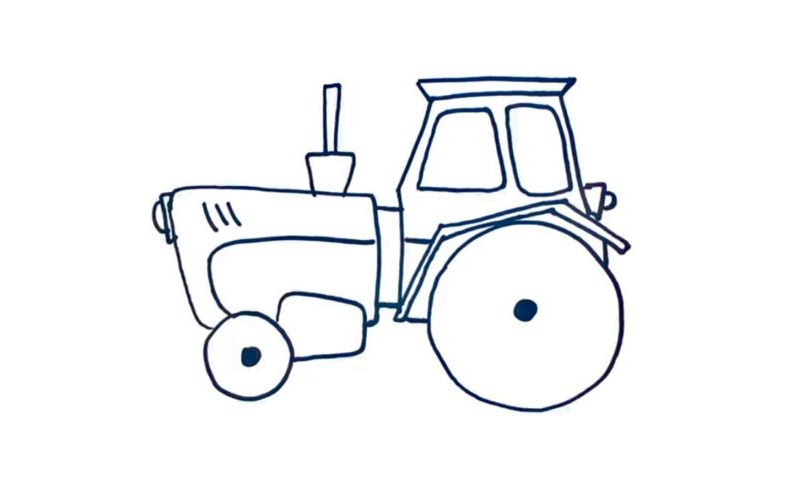
Learn How To Draw A Tractor Quickly
We begin with the huge wheel on the right (00 min 06 sec). You’ll need two circle for it – one big, and one tiny. Color the little circle black. Same goes for the left wheel, the next step in this how to draw a Tractor tutorial (00 min 18 sec). But this time around, the main circle is significantly smaller. Alright, now it’s time to get to the machine itself.
The front part comes first (00 min 33 sec). Once you add it, the whole thing will start to look like some sort of a shopping cart. It has a light in the left corner that’s barely visible (00 min 48 sec). If you’re happy with everything, move on to the right to take care of the rear half (01 min 05 sec). As you can see, there are two lines that connect the front side to the rear side.
The next step of this how to draw a Tractor tutorial is the cabin. It comes with two windows of different shapes (01 min 28 sec). The bottom of the cabin connects to the wheel via the arch (01 min 38 sec). The last step is the chimney in the front (02 min 10 sec).
Before you learn how to draw A Tractor, did you know?
When we’re kids, most of us want to be a policeman, an astronaut, or a tractor driver. That’s because it looks so cool and you feel invincible behind its wheel. However, it requires certain skills to put a tractor to good use. Besides, you’ll have to spend 8 to 10 hours driving this steel monster, and usually, the routine is quite boring and monotonous.
Thanks to the incredibly mighty engine, a tractor can haul trailers and super-heavy machinery in, say, construction. Initially, these vehicles were meant to help farmers in agriculture. But these days, tractors have a variety of uses. Even the international armies use them to solve everyday tasks. By the way, in Latin, this word is a noun and means “to pull”.
