Learn How To Draw Tired Eyes Quickly
If you’re a fan of the classic drawing lessons that deal with realistic body parts, then this one is not really for you. On the other hand, if Anime is your passion, welcome aboard! Besides, even the first group of folks will have fun with this how to draw Tired Eyes tutorial. It’s nice and easy, nothing to stress yourself about.
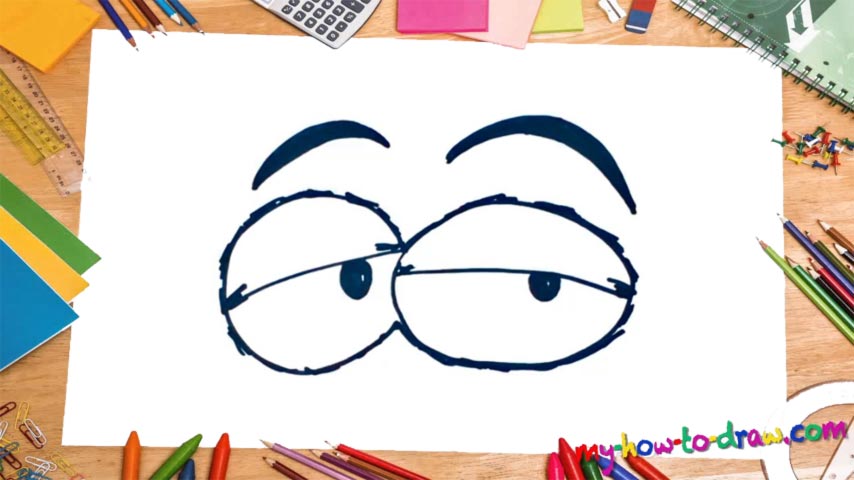
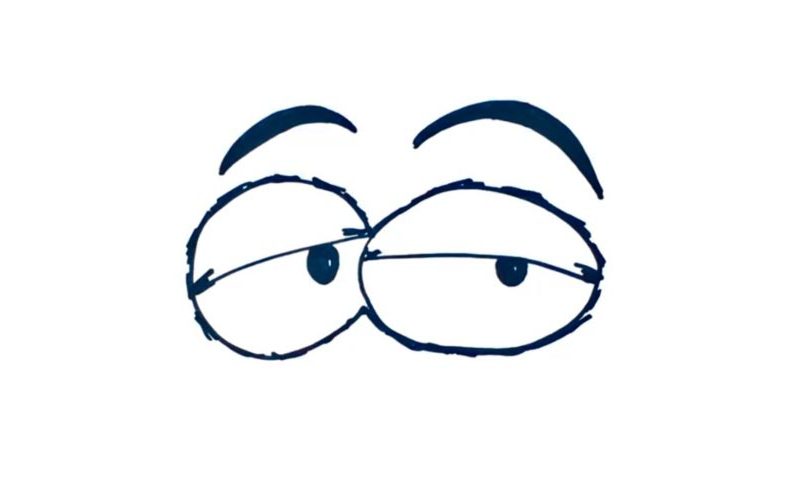
Start by outlining the shapes of both eyes (00 min 06 sec). As you can already see, the one on the right is an oval, while the one on the left is a circle. They should overlap each other a bit and look like dinosaur eggs. The next steps are the horizontal lines that divide them in half (00 min 21 sec). The pupils follow (00 min 30 sec). Leave tiny white spots inside of them.
The next step in this how to draw Tired Eyes tutorial includes the super-thick brows – two simple arcs in the upper corner (00 min 45 sec). To complete this lesson, go back to the eyes and “thicken” them a bit for that cartoon look (01 min 10 sec).
Before you learn how to draw Tired Eyes, did you know?
In the modern-day world, many people have to work behind a computer all-day-long. Naturally, that puts a lot of pressure on one’s eyes. A good night’s sleep is usually enough for us to fully recover, but please, make sure to have your eyes checked every now and then. They are one of the most fragile parts of our bodies and require special treatment.
So, take regular rests and stay away from your laptop, phone, and other gadgets for at least 1-2 hours during the day. Remember: your health is more important than anything else in the world. In this particular lesson, we’ve got an anime-styled pair of eyes that looks cute. And while the tutorial is quite easy, it will be an important step for you if you’re a beginner.

