Learn How To Draw A Teddy Quickly
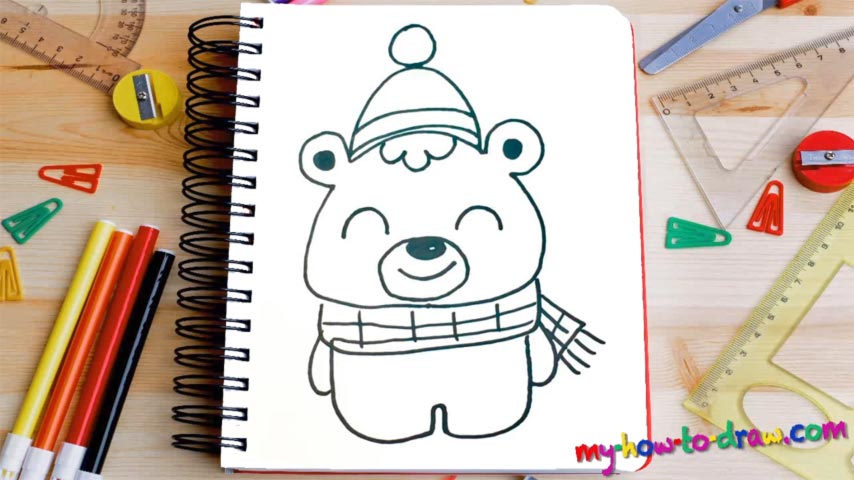
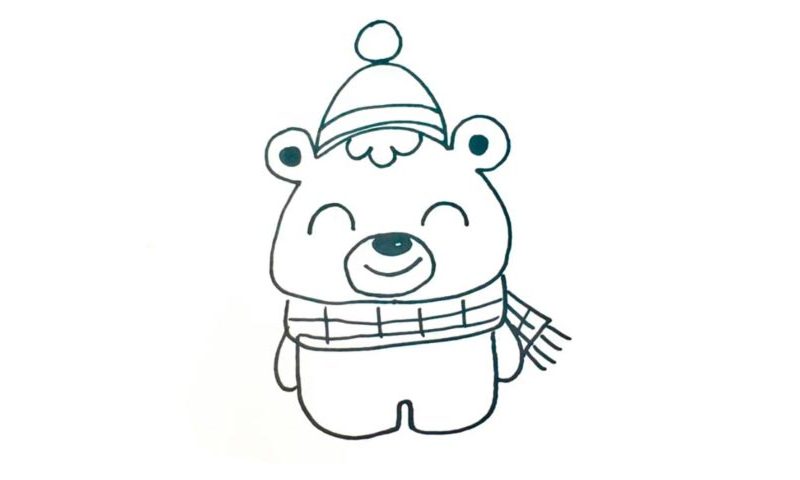
We usually start with the head, or the eyes, but in this case, the cute nose comes first (00 min 09 sec). Essentially, it’s just an oval shape that looks like a potato with a tiny white dot in it. For the mouth, the next part of this how to draw a Teddy tutorial, use a simple curvy line (00 min 20 sec). Once you’re done with the circle around the nose and the mouth, move on to the head.
It’s identical on both sides (00 min 36 sec). The ears also look very much alike (00 min 50 sec). You’ll need a shape that looks like the letter “C” and a small black circle for each. That fancy hat covers the top of the head (01 min 18 sec). The flock of hair looks like a paw (01 min 35 sec). The eyes are the easiest part: just two identical half-circles (01 min 42 sec).
Alright, now we move on to the next step in this how to draw a Teddy tutorial – the body (01 min 57 sec). The hands are very small and thin. The legs, in turn, are very large. The scarf will help you finish this wonderful drawing (02 min 20 sec). A series of basic horizontal and vertical lines – that’s all you’ll need for this part.
Before you learn how to draw A Teddy, did you know?
Teddy bears are one of the best friends a kid can have. They’ve been around for a very long time and are still among the most popular heroes of books, shows, and movies. In this particular example, we’ve got a rather funny image of a bear: he’s got a cute scarf and a hat to keep himself warm. The proportions are way off, but this is exactly what we’re going for.
A cartoon character doesn’t have to be 100% realistic: that’s what makes them all unique and memorable. Note: in the real world, bears are pretty scary creatures and won’t tolerate you entering their territory. So, stay as far away as possible (or go to the nearest zoo).

